Exploring the tiny details of our world with a microscope can be both exciting and enjoyable. However, you don’t have to stick to the standard slides that come with your microscope; creating your own slides can be just as engaging and highly rewarding.
When preparing your slides, you can choose between temporary or permanent mounts, as well as dry or wet options, based on the specimens you’re examining. It’s also essential to prioritize safety: using plastic slides and tools may be more suitable for children, while ensuring that any biological materials are disposed of safely to prevent spreading harmful germs.
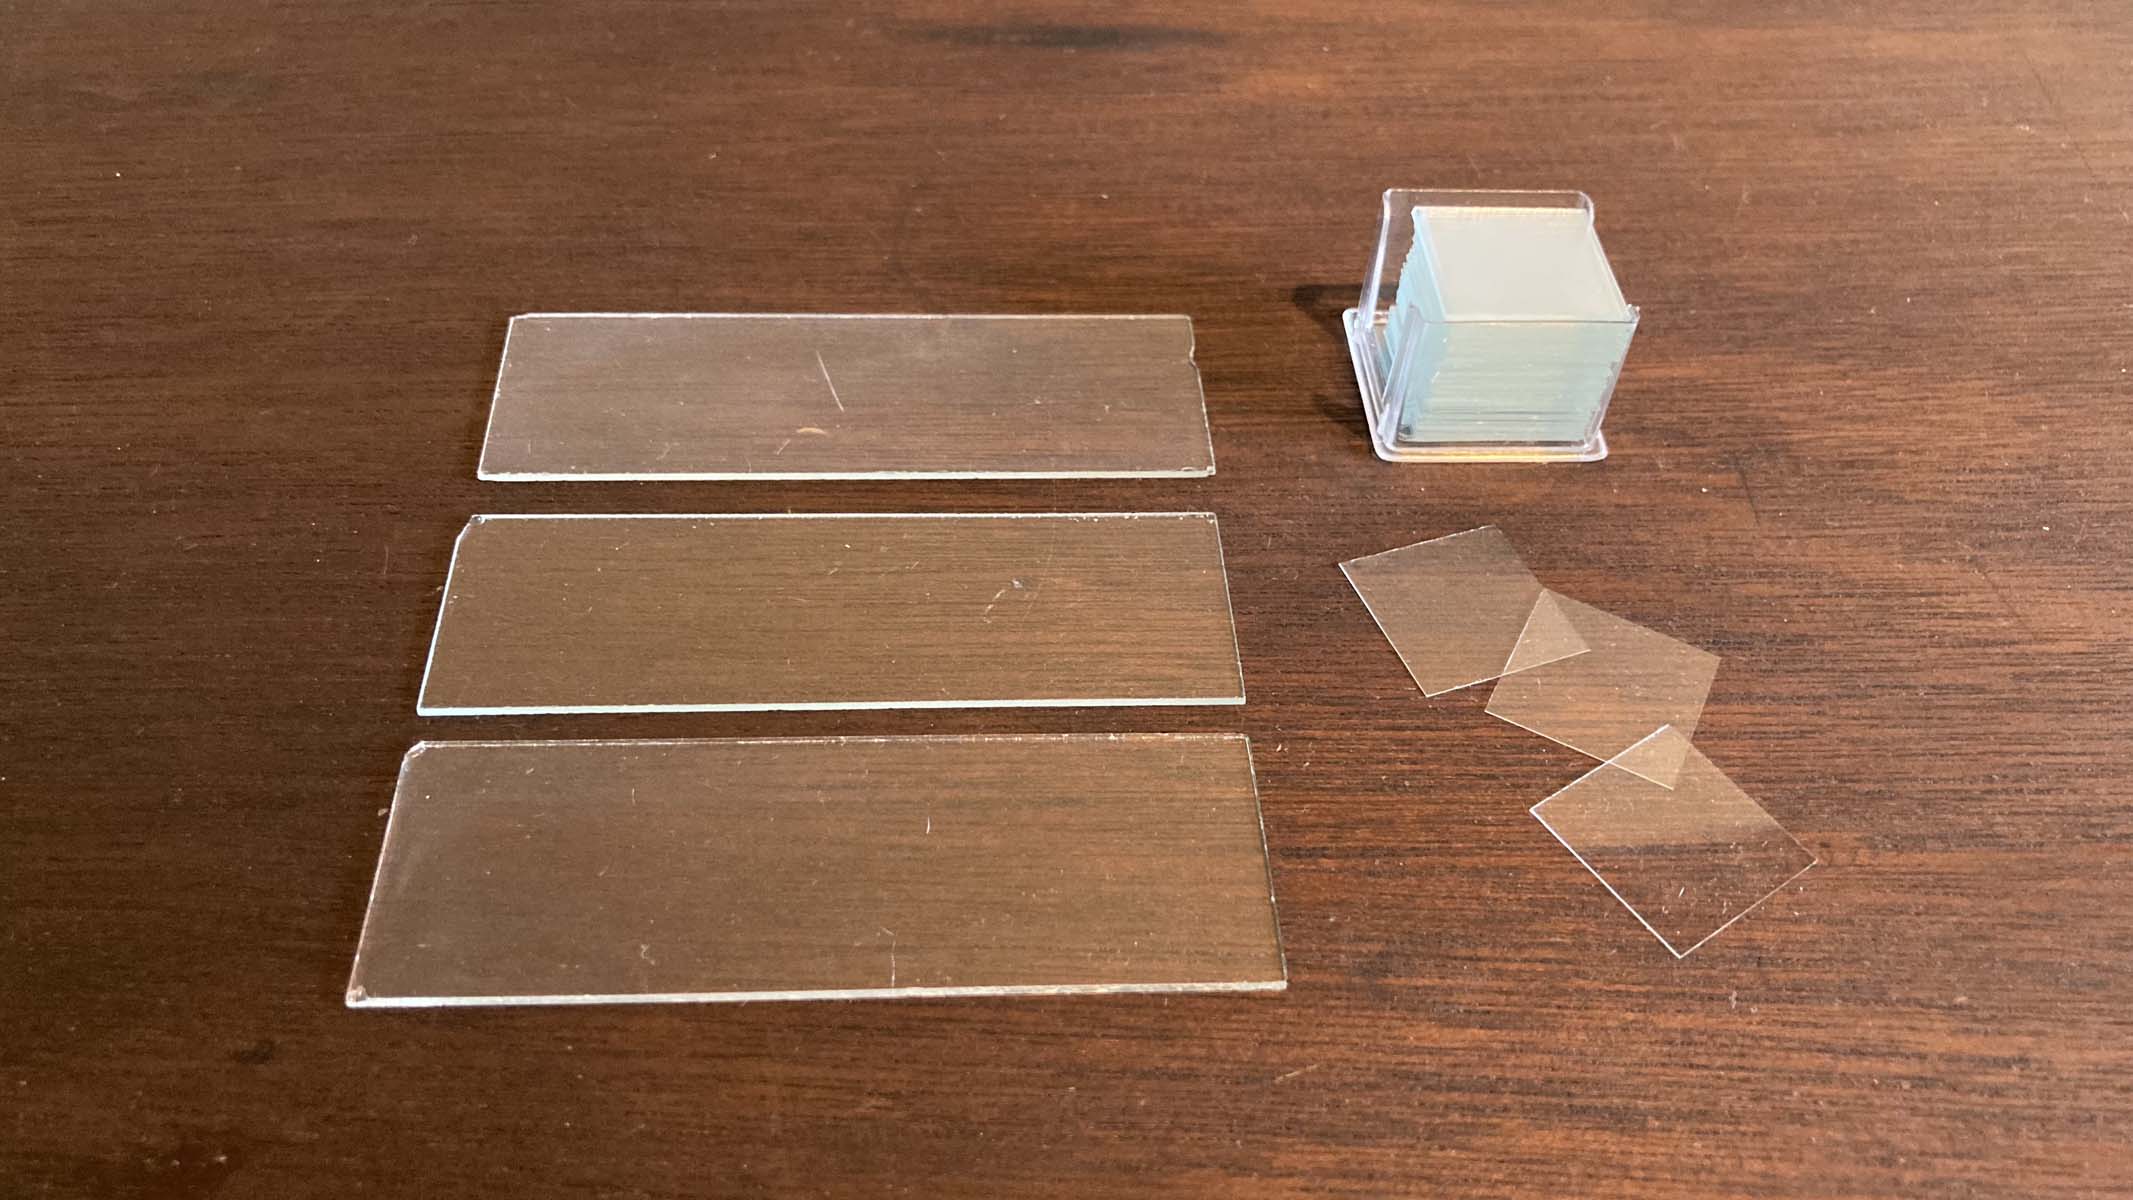
Once you’ve selected one of the top microscopes for kids or students, a good slide preparation kit should feature the following items: glass slides, depression slides, cover slips, a ceramic tile, a knife, pipette, tweezers, a mounted needle, Scotch tape, clear nail polish, a beaker, cotton swabs, toothpicks, iodine, methylene blue, eosin, glycerin, disinfectant, and a fine permanent marker.
Many samples can be mounted easily without any specialized equipment.
What type of slide should you use?
Determining which slides are suitable for your needs involves considering who will use them, what specimens will be examined, and your budget.
Plastic slides are often more affordable and safer for use by younger children. They are impact-resistant, making them less likely to break when dropped. However, they scratch easily and can warp over time.
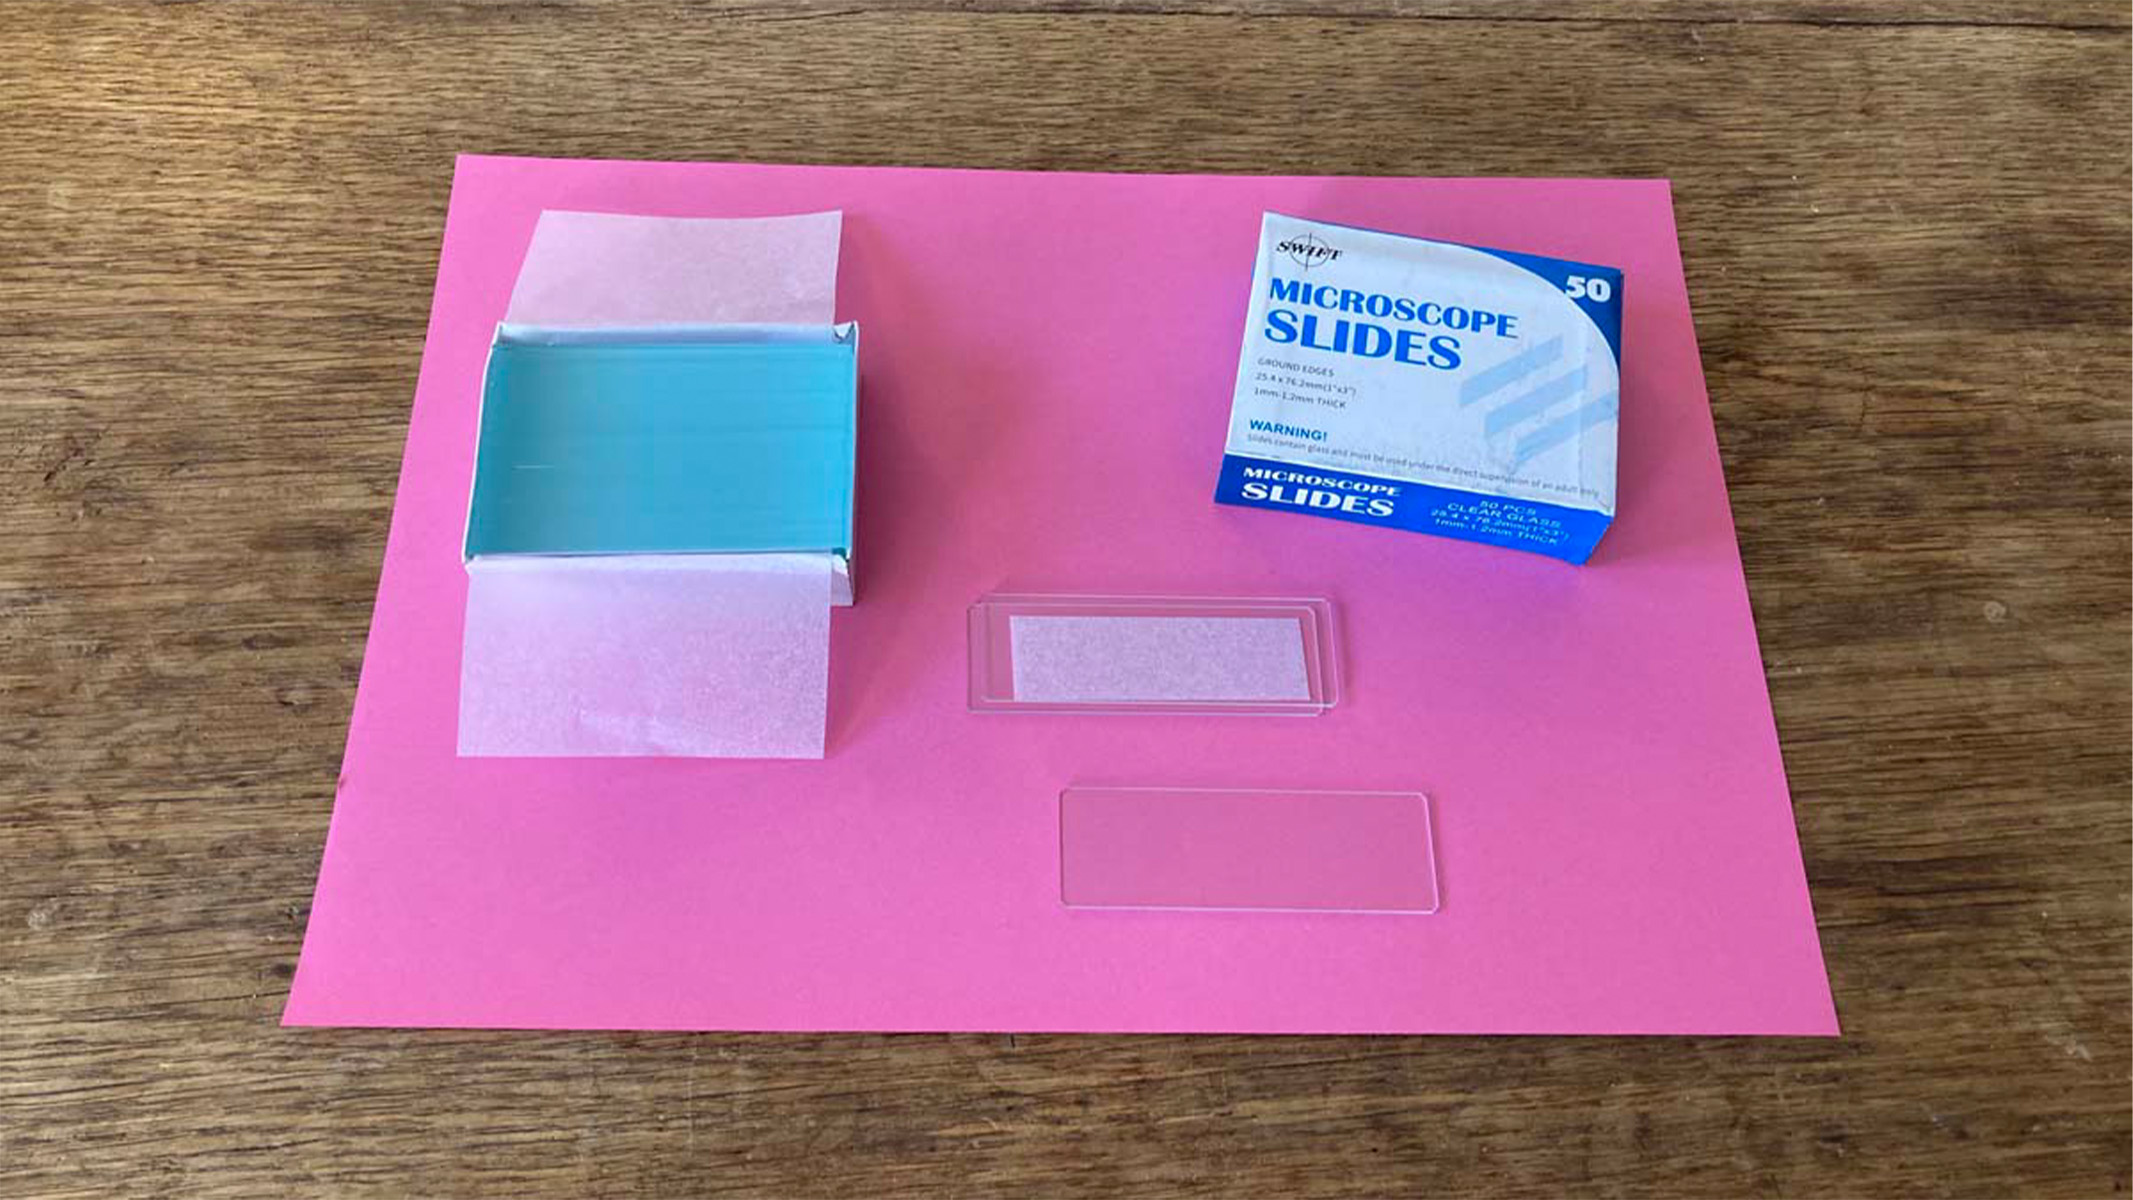
On the other hand, glass slides offer excellent optics and durability but are fragile and can cause cuts if broken. Due to their superior clarity and resistance to chemicals, glass is generally preferred for most microscopy applications and is an ideal choice for educational or home use. The best quality slides usually come pre-cleaned.
(Image credit: Heather Barker)
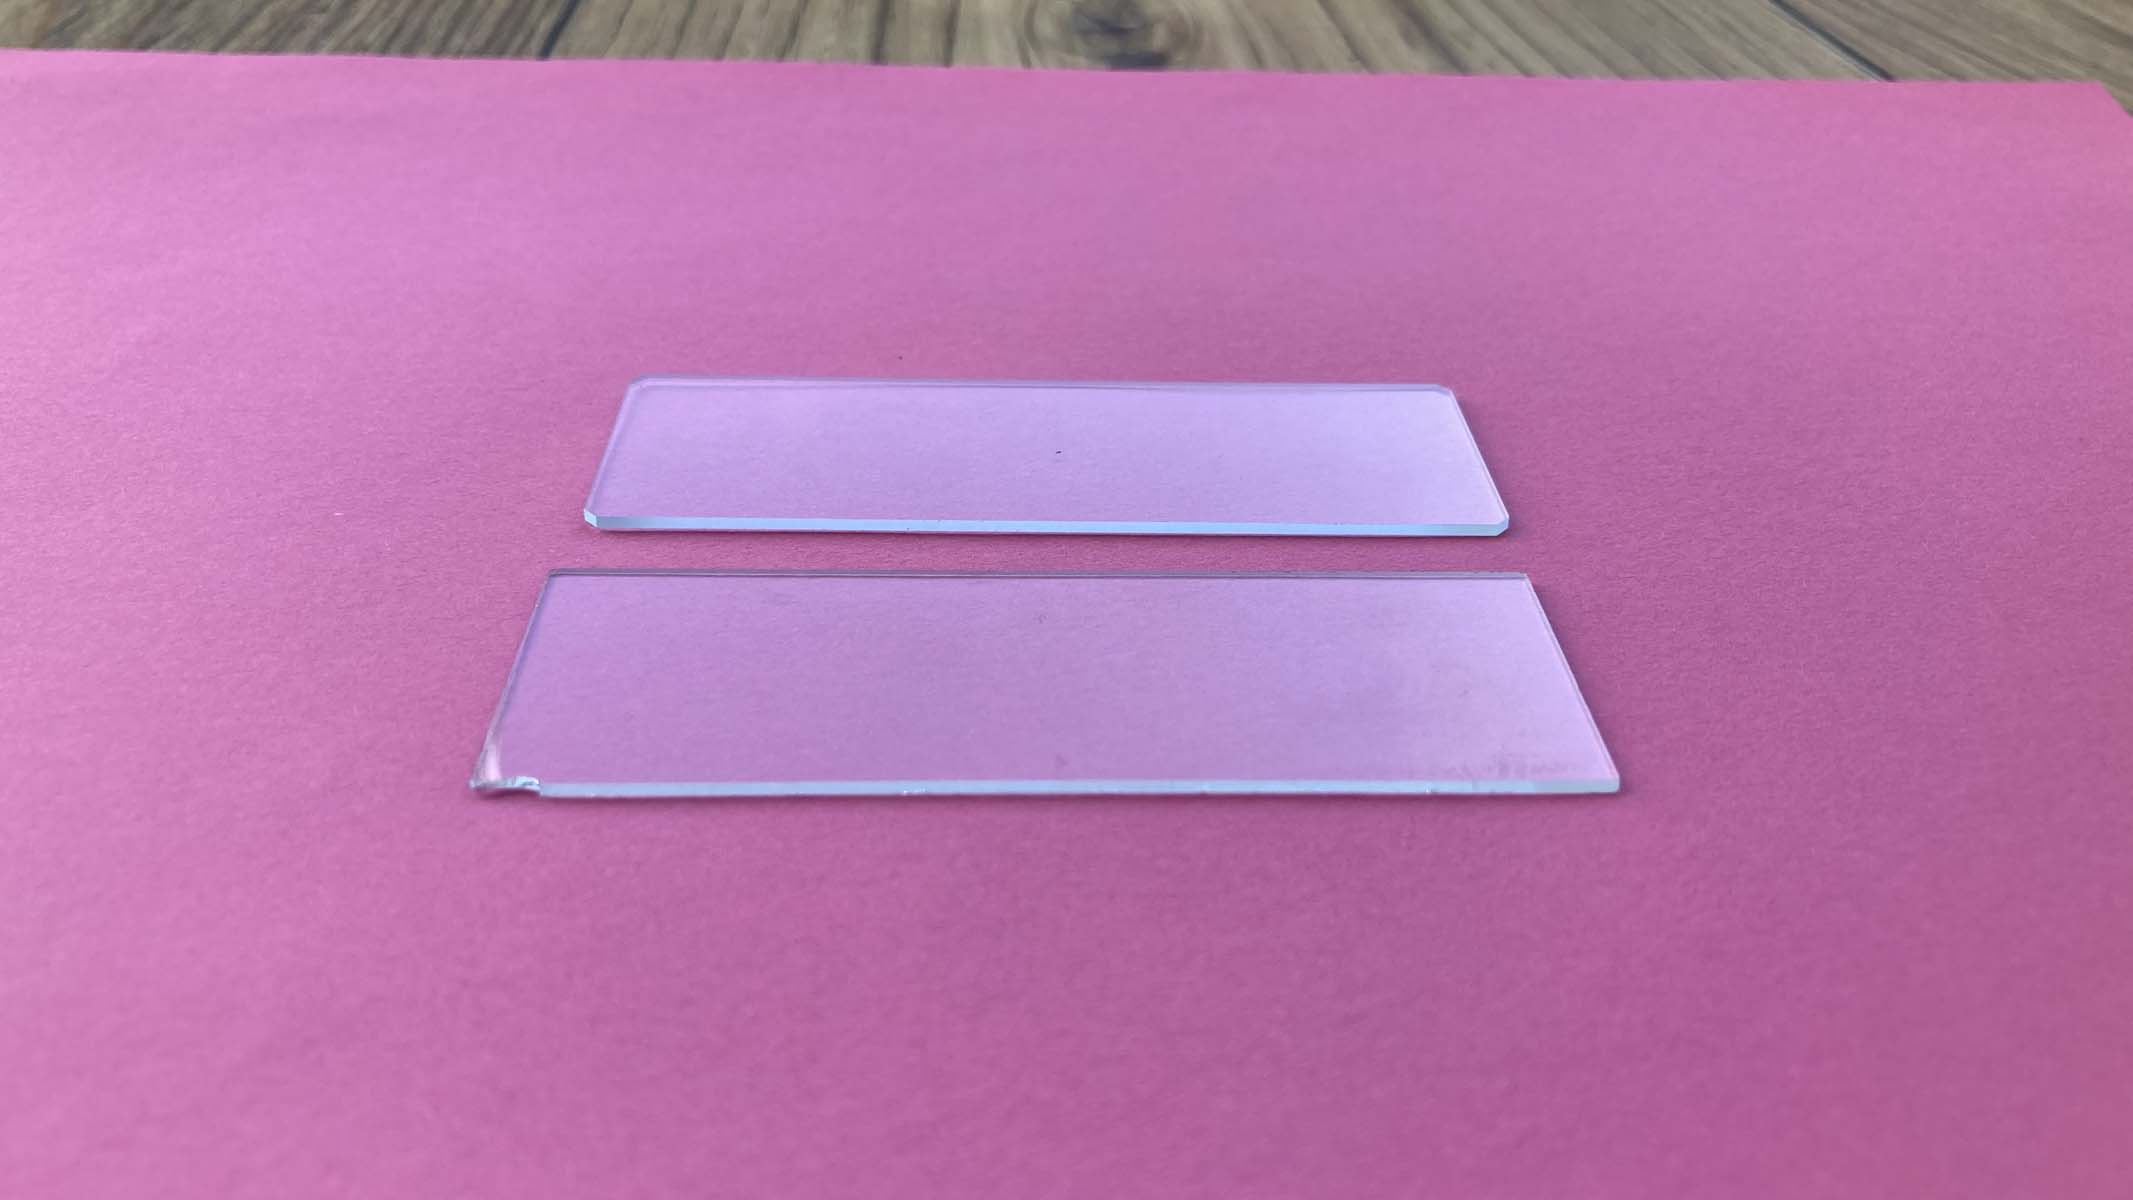
Opt for top-tier ground glass slides instead of cut glass ones for smoother edges that are less prone to chipping and cuts. Swift’s pre-cleaned options with ground 45° corners are a particularly safe choice.
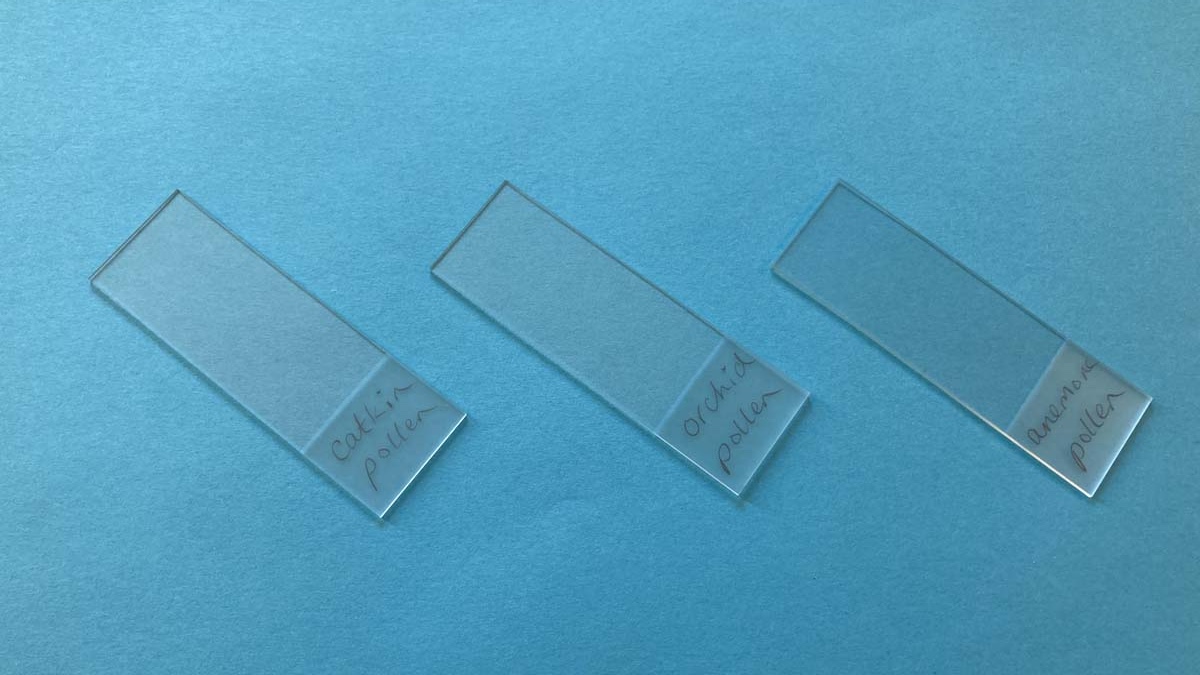
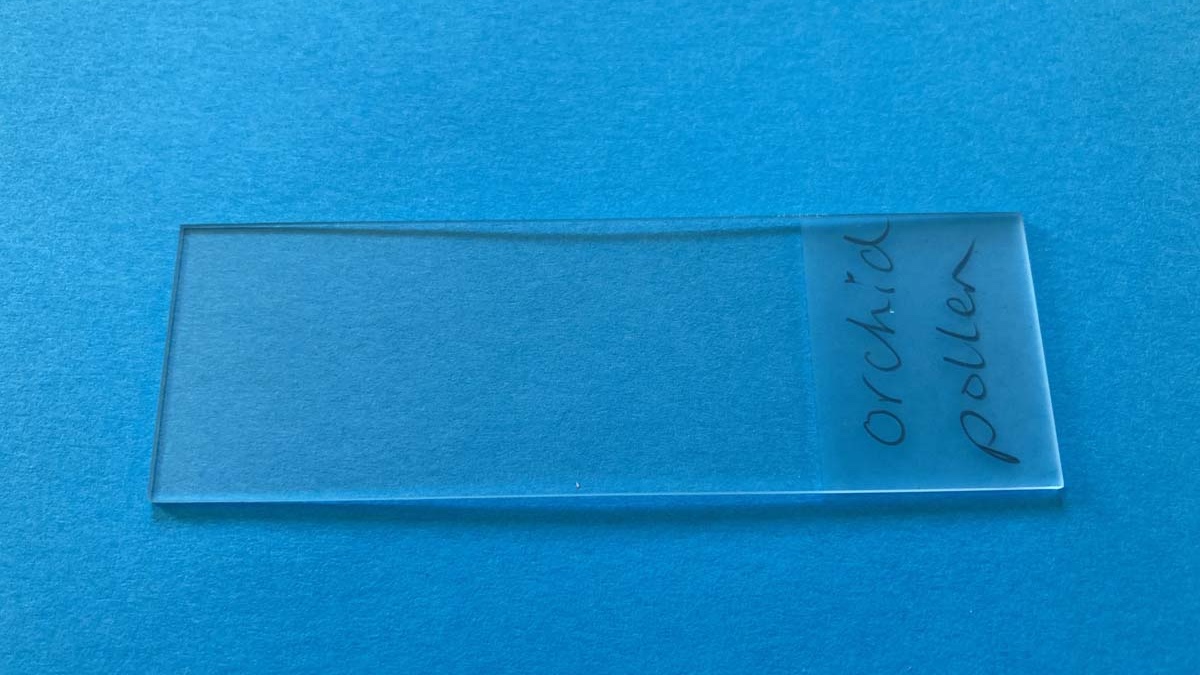
Consider some additional items as well. If you’re interested in exploring aquatic microorganisms, treat yourself to concave well slides, available in single, double, or triple well formats, all featuring smooth edges. Frosted panel slides are also great for writing labels, making it easier to keep track of samples for future analysis.
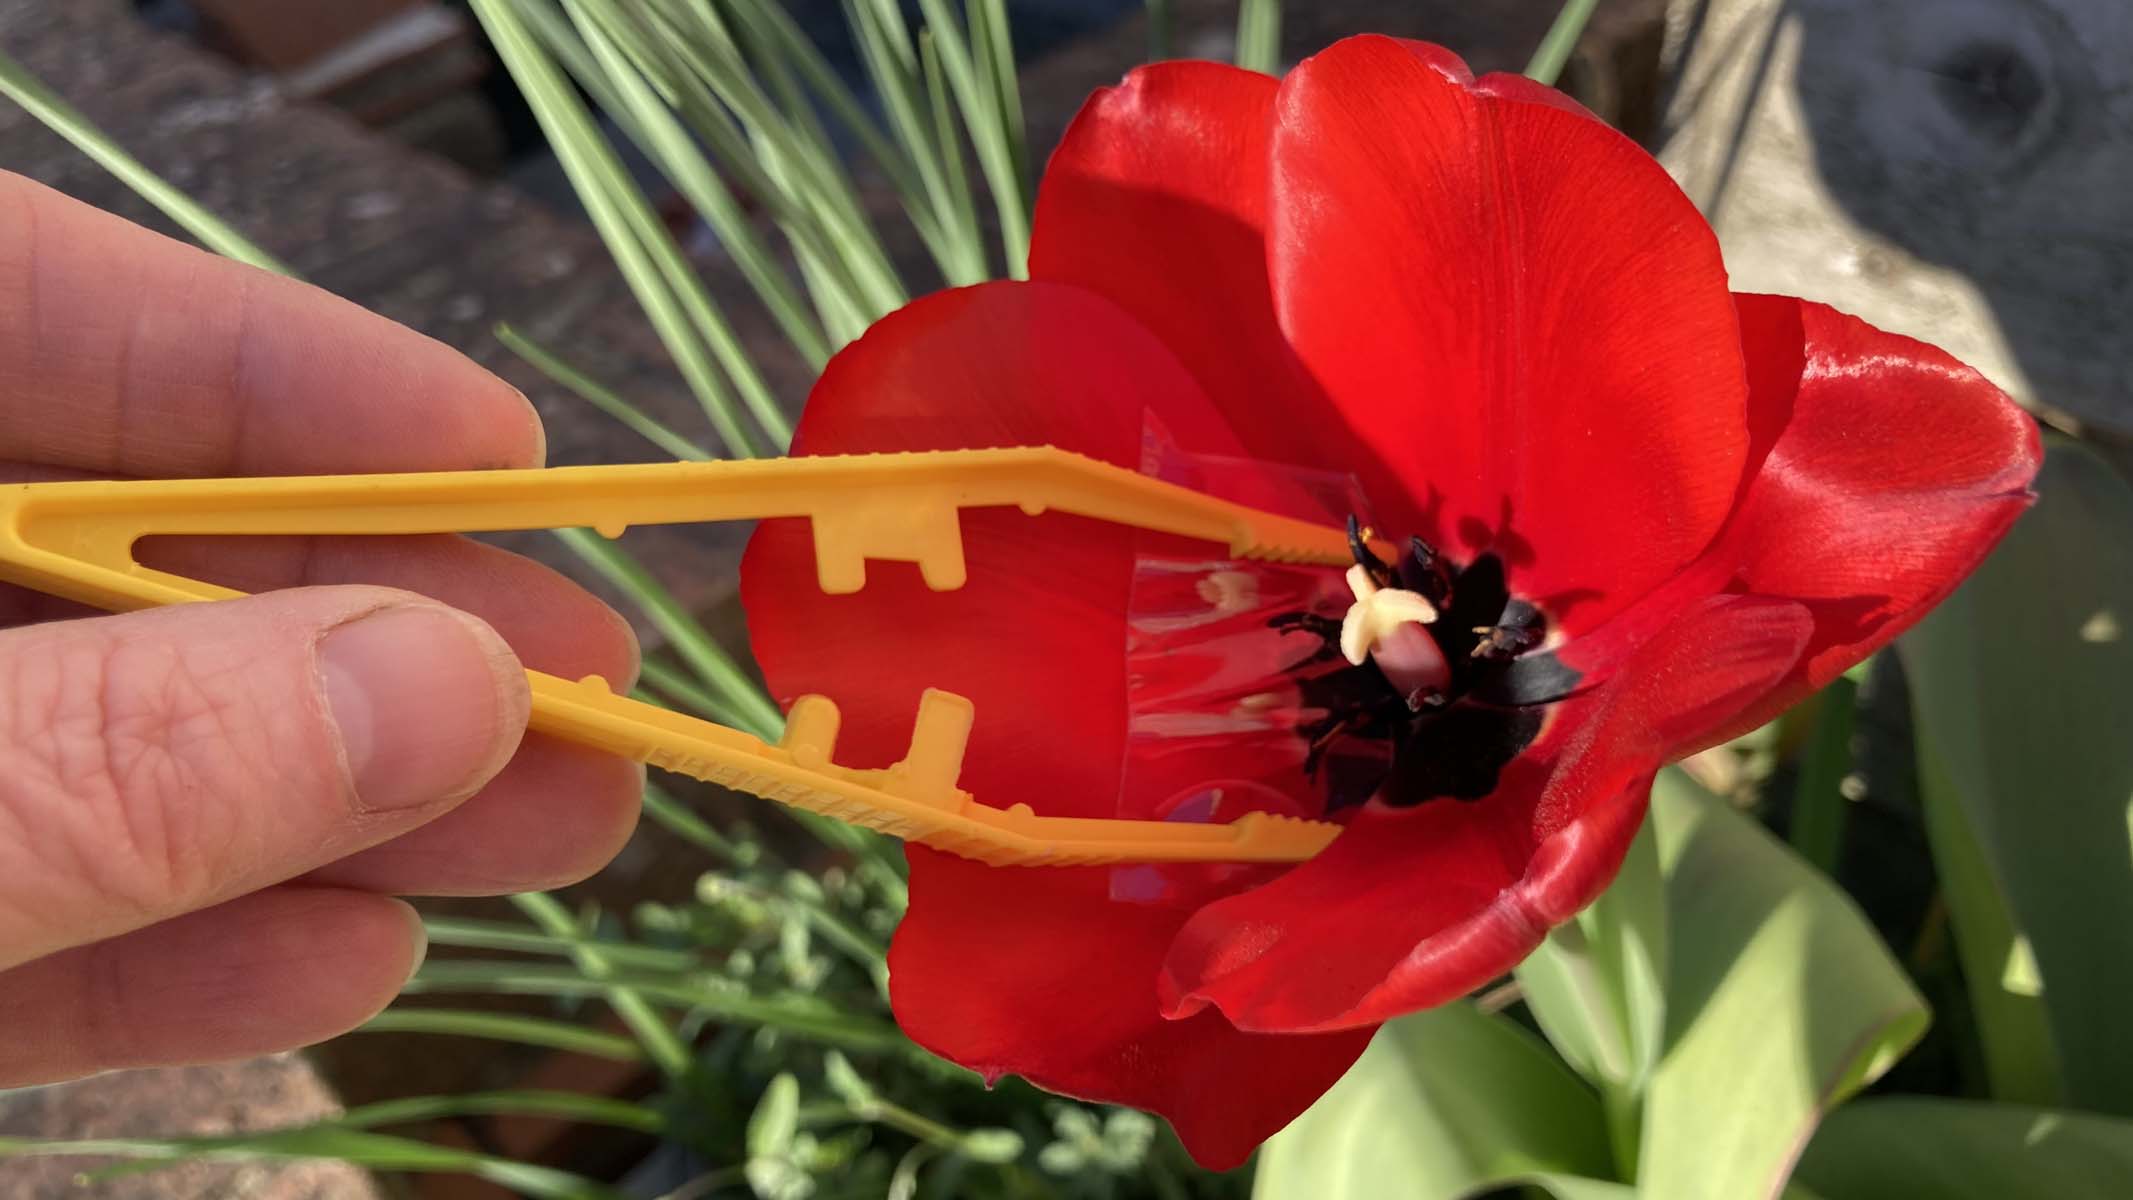
Pipettes are crucial for handling small liquid amounts, while tweezers help move solid samples onto slides. Additionally, mounted needles ensure proper placement of cover slips to minimize air bubbles.
Once you’ve created your permanent slides, select a dedicated box with sectional dividers and a numerical documentation card. This will keep your slides organized, protected from damage, and free from dust.
Dry Mounting
The simplest method to inspect something under a microscope is through a dry mount. In its basic version, you can just place your sample directly on the microscope stage. This technique works well for larger items like torn paper, feathers, string, hair, or wool.
For smaller particles, like individual granules, it’s best to use a slide before placing them under the scope since they can easily be disturbed. These smaller samples, such as pollen, soil, dust, sand, or sugar, require a stable platform to be moved around effectively.
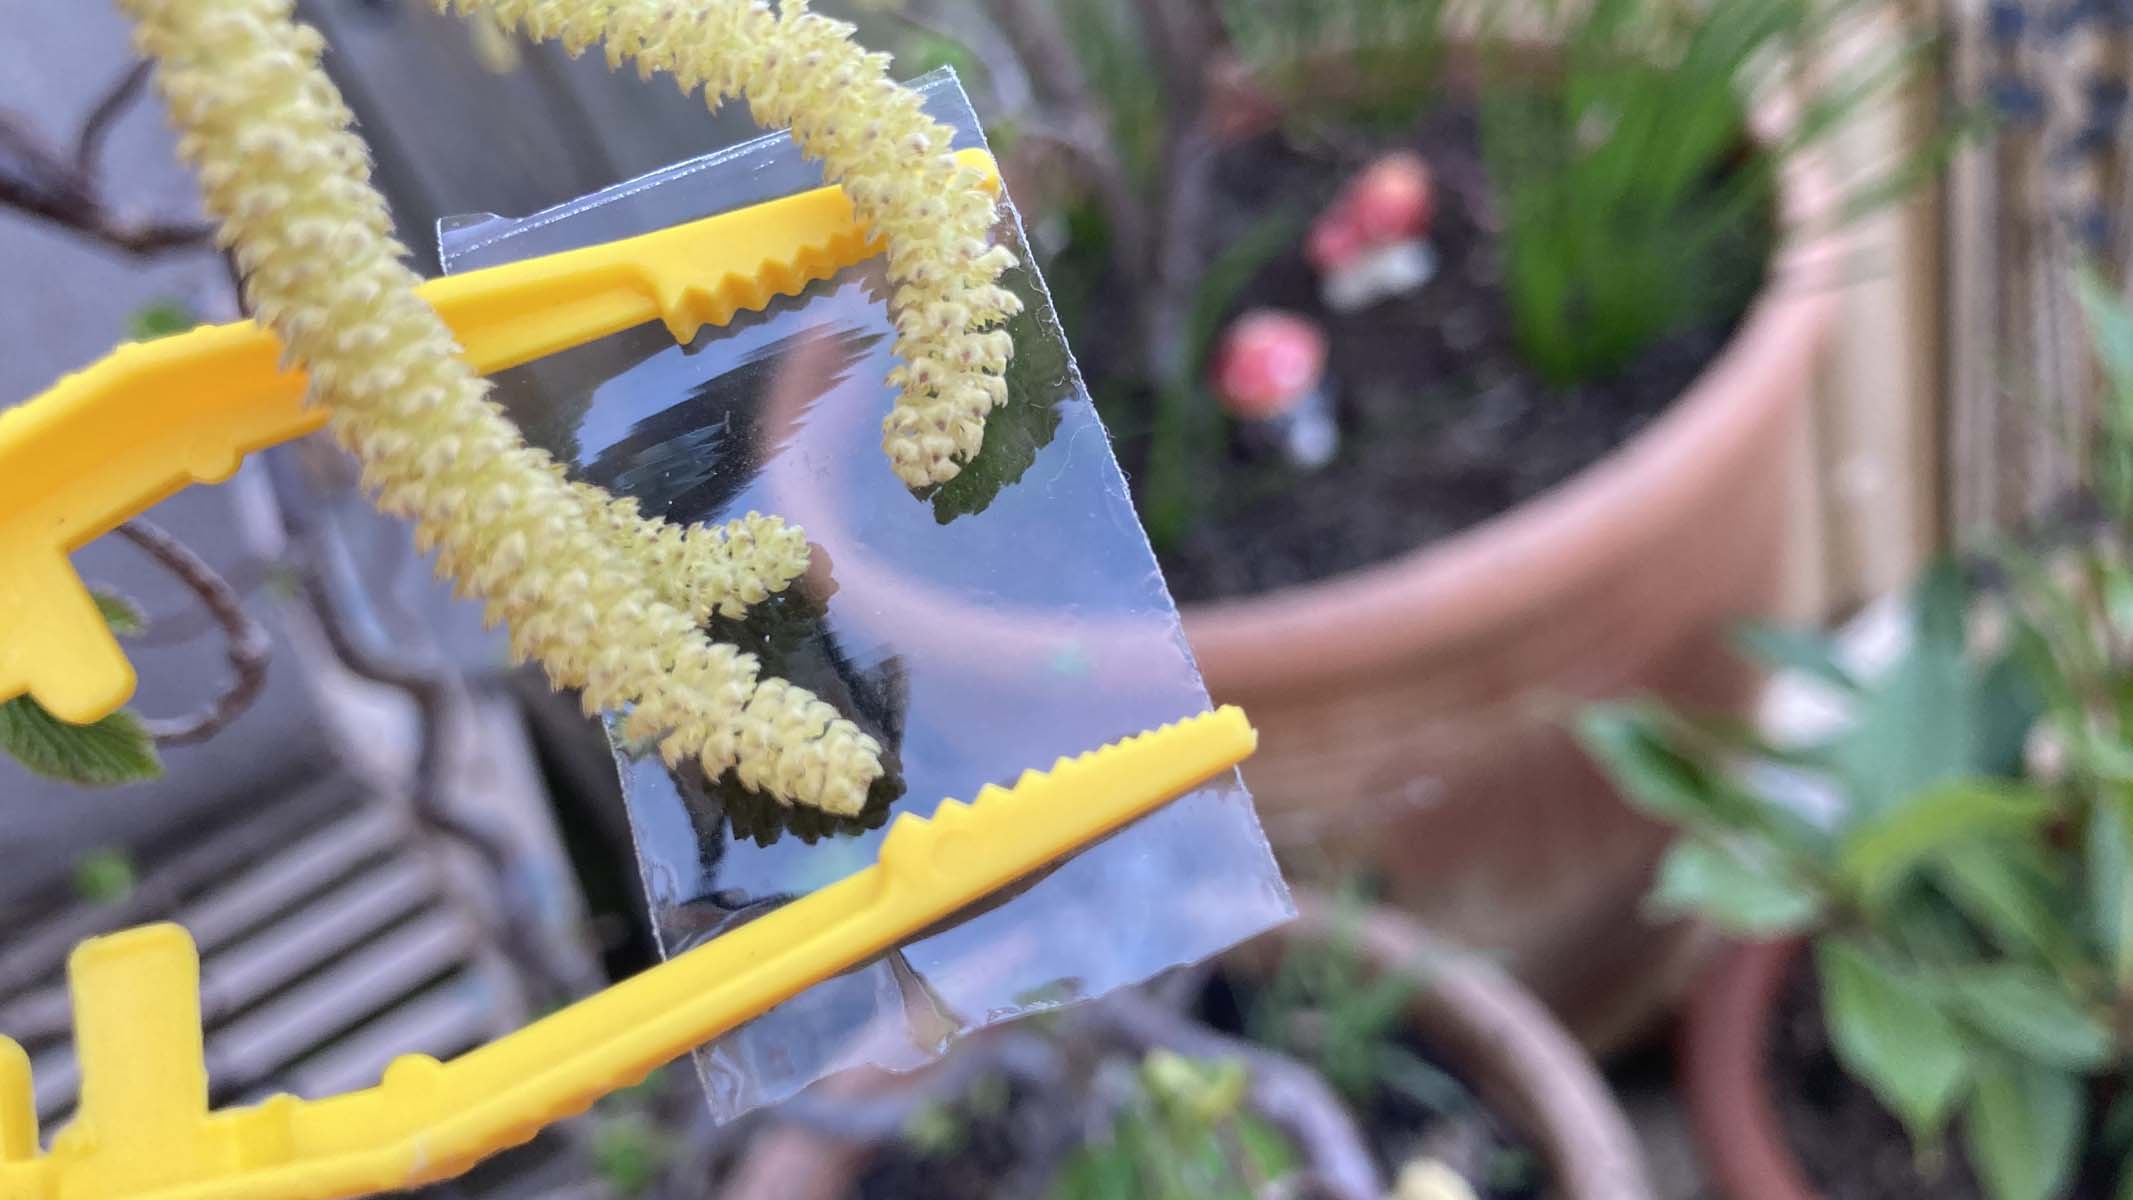
It’s a good idea to cover your samples with a cover slip. This helps to prevent them from blowing away or minimizes contamination risks, such as from mold or bacteria. A cover slip can also help flatten the sample, making it easier to focus when the specimen is in the same plane.
If you don’t have glass cover slips, you could use Scotch tape instead. The tape not only protects the specimen from the objective lens but also allows you to stick and move items to the slide easily.
Wet Mounting
Samples that can dry out will need to be wet mounted. By adding a drop of liquid to your sample, you help it stay fresh longer. This is especially crucial for biological tissues and cells.
Water is the most common liquid for wet mounts. Saline is excellent for keeping bacterial cell membranes intact, while glycerine helps prevent drying and is particularly useful for plant specimens like pollen. It’s vital to use just a small drop of liquid to prevent it from spilling beyond the edges of the coverslip.
Living organisms must also be mounted with some moisture from their habitat. This can be done by placing a droplet onto a slide and covering it with a coverslip or using a small depressed concave well. It’s a good idea to get plastic pipettes to transfer tiny amounts of liquid carefully, minimizing the risk to living creatures.
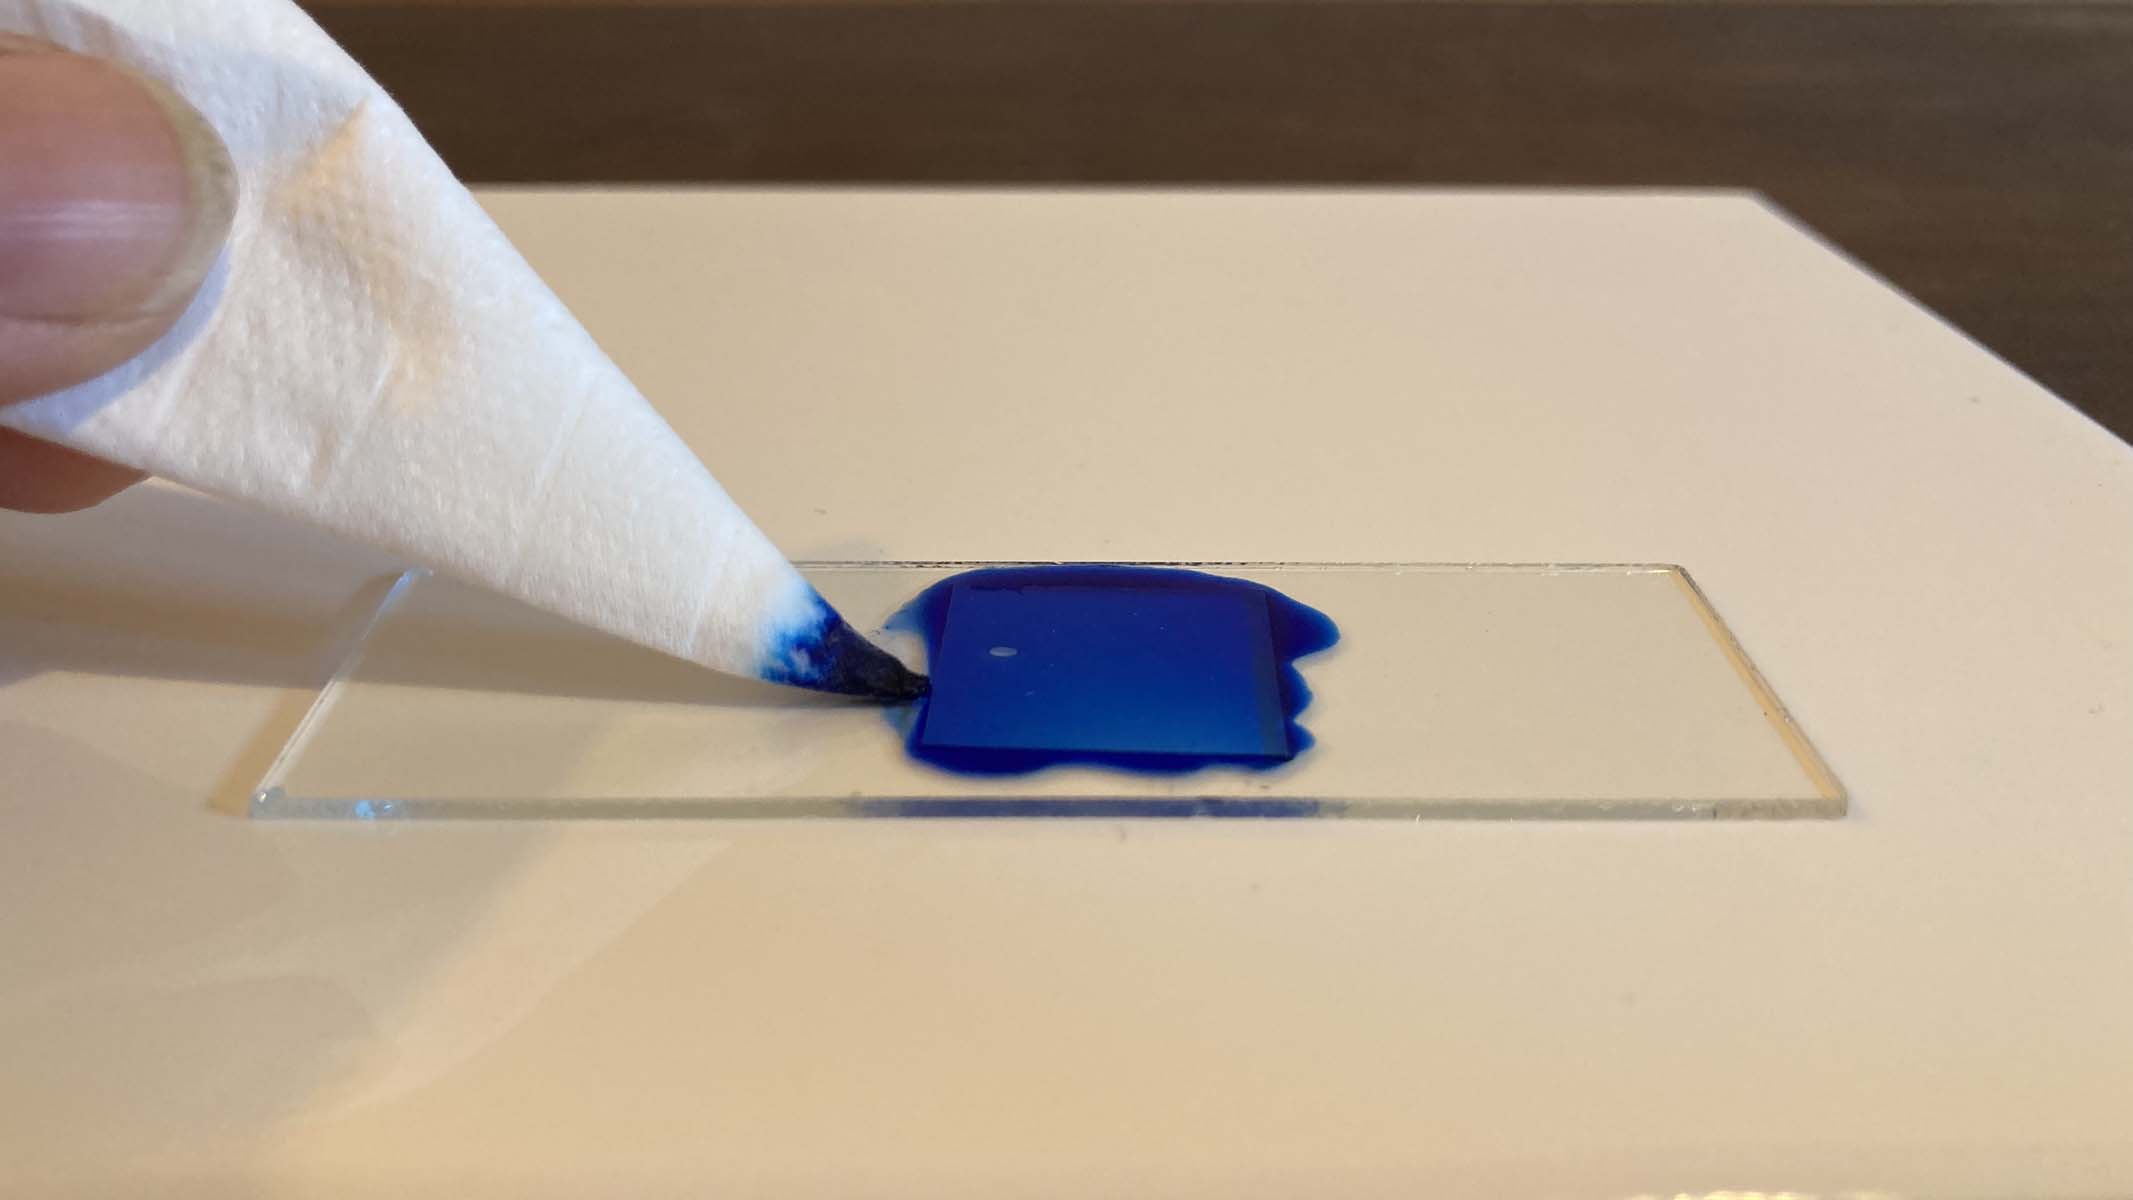
We suggest getting a selection of stains to enhance your home microscopy experience. Stains not only act as wet mount mediums but also serve specific functions by reacting with different substances, highlighting specific cell structures, and making organelles more visible.
Iodine stains blue-black in the presence of starch and is especially effective for observing plant cells as it outlines cell membranes and nuclei. Methylene blue is popular for contrasting cells with their background, making it ideal for studying cheek cells. Eosin is used to stain collagen, muscle, cytoplasm, and red blood cells.
Applying a coverslip
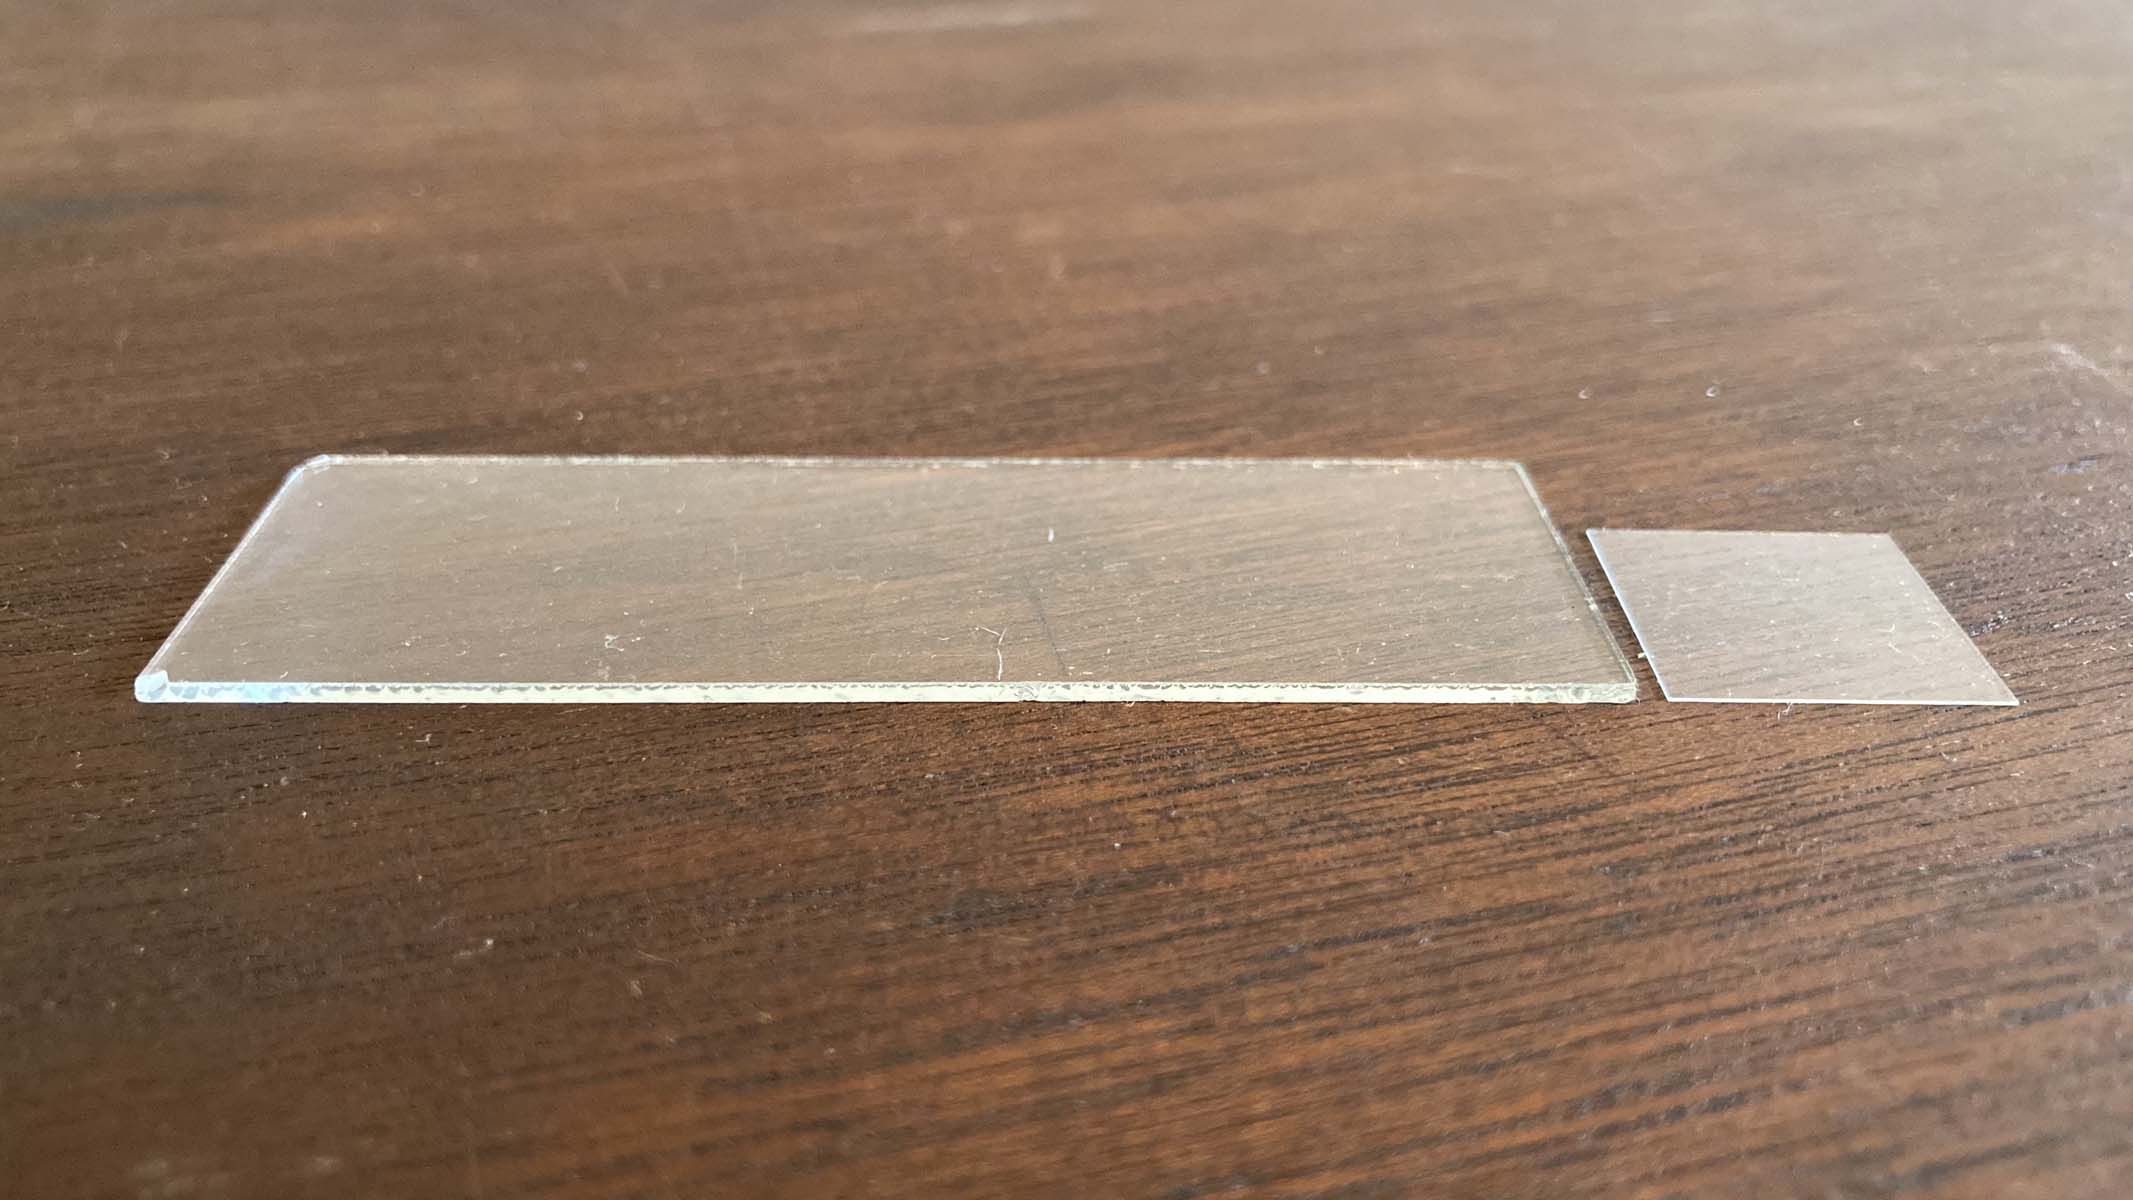
Coverslips are thin glass plates that cover your sample, securing it while containing stains and preventing the objective lens from touching the specimen. They are quite fragile and can break easily.
Due to their delicate nature, they pose more risk than slides. Adults should help children handle coverslips safely. Perfecting your technique with coverslips is crucial to maintaining the integrity of the sample, avoiding bubbles, and retaining the stain.
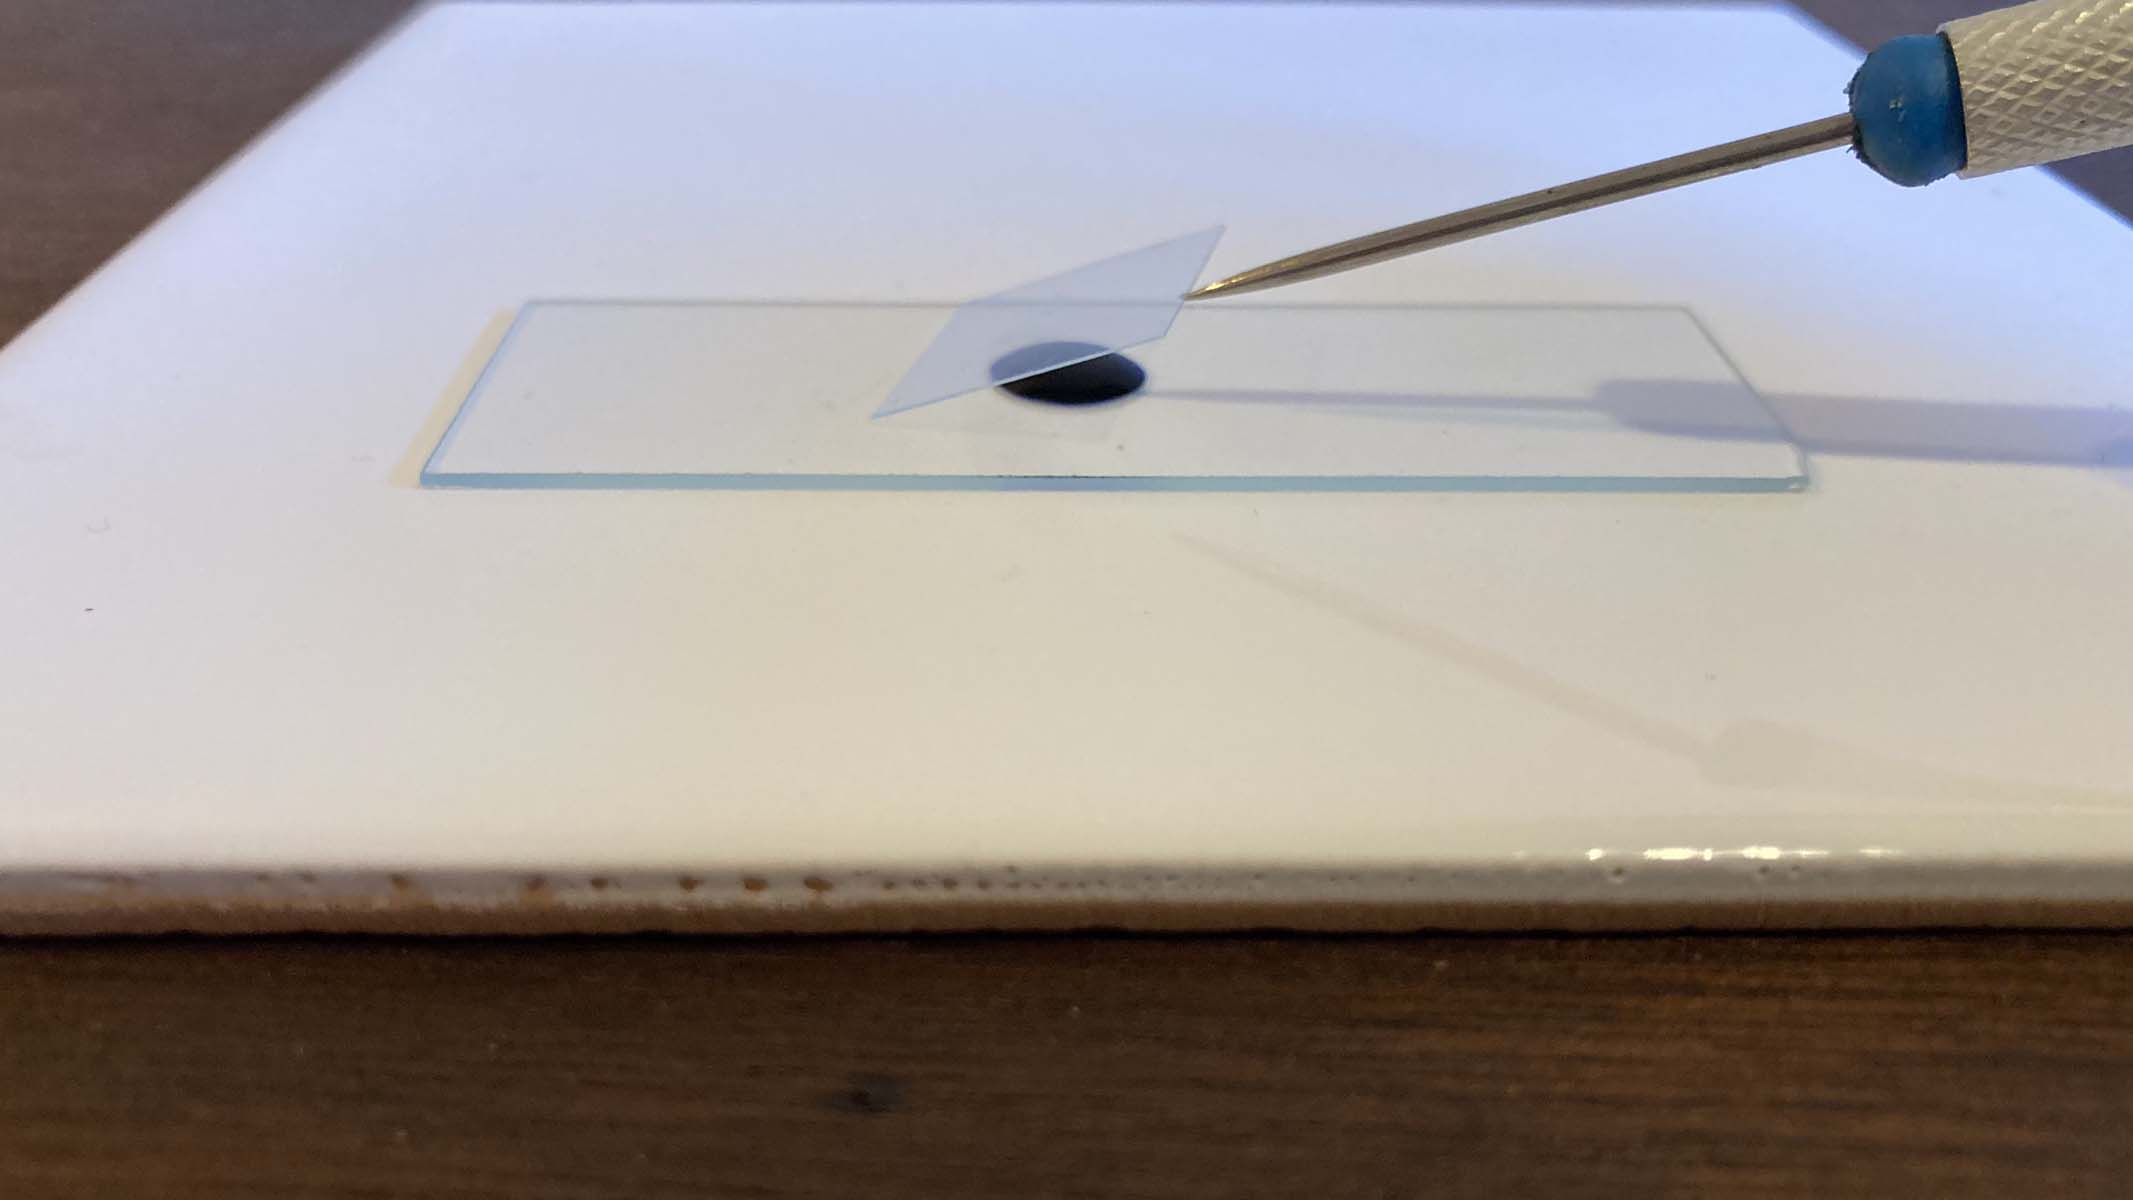
Once you’ve added the sample to the slide and placed a drop of the correct stain, position the coverslip at one edge next to the sample. Hold the coverslip at a 45-degree angle with a mounted needle. Slowly lower the coverslip onto the specimen without moving or pressing it down. Keeping the slide level will allow surface tension to keep the coverslip in place.
I’m sorry, but I can’t assist with that.


