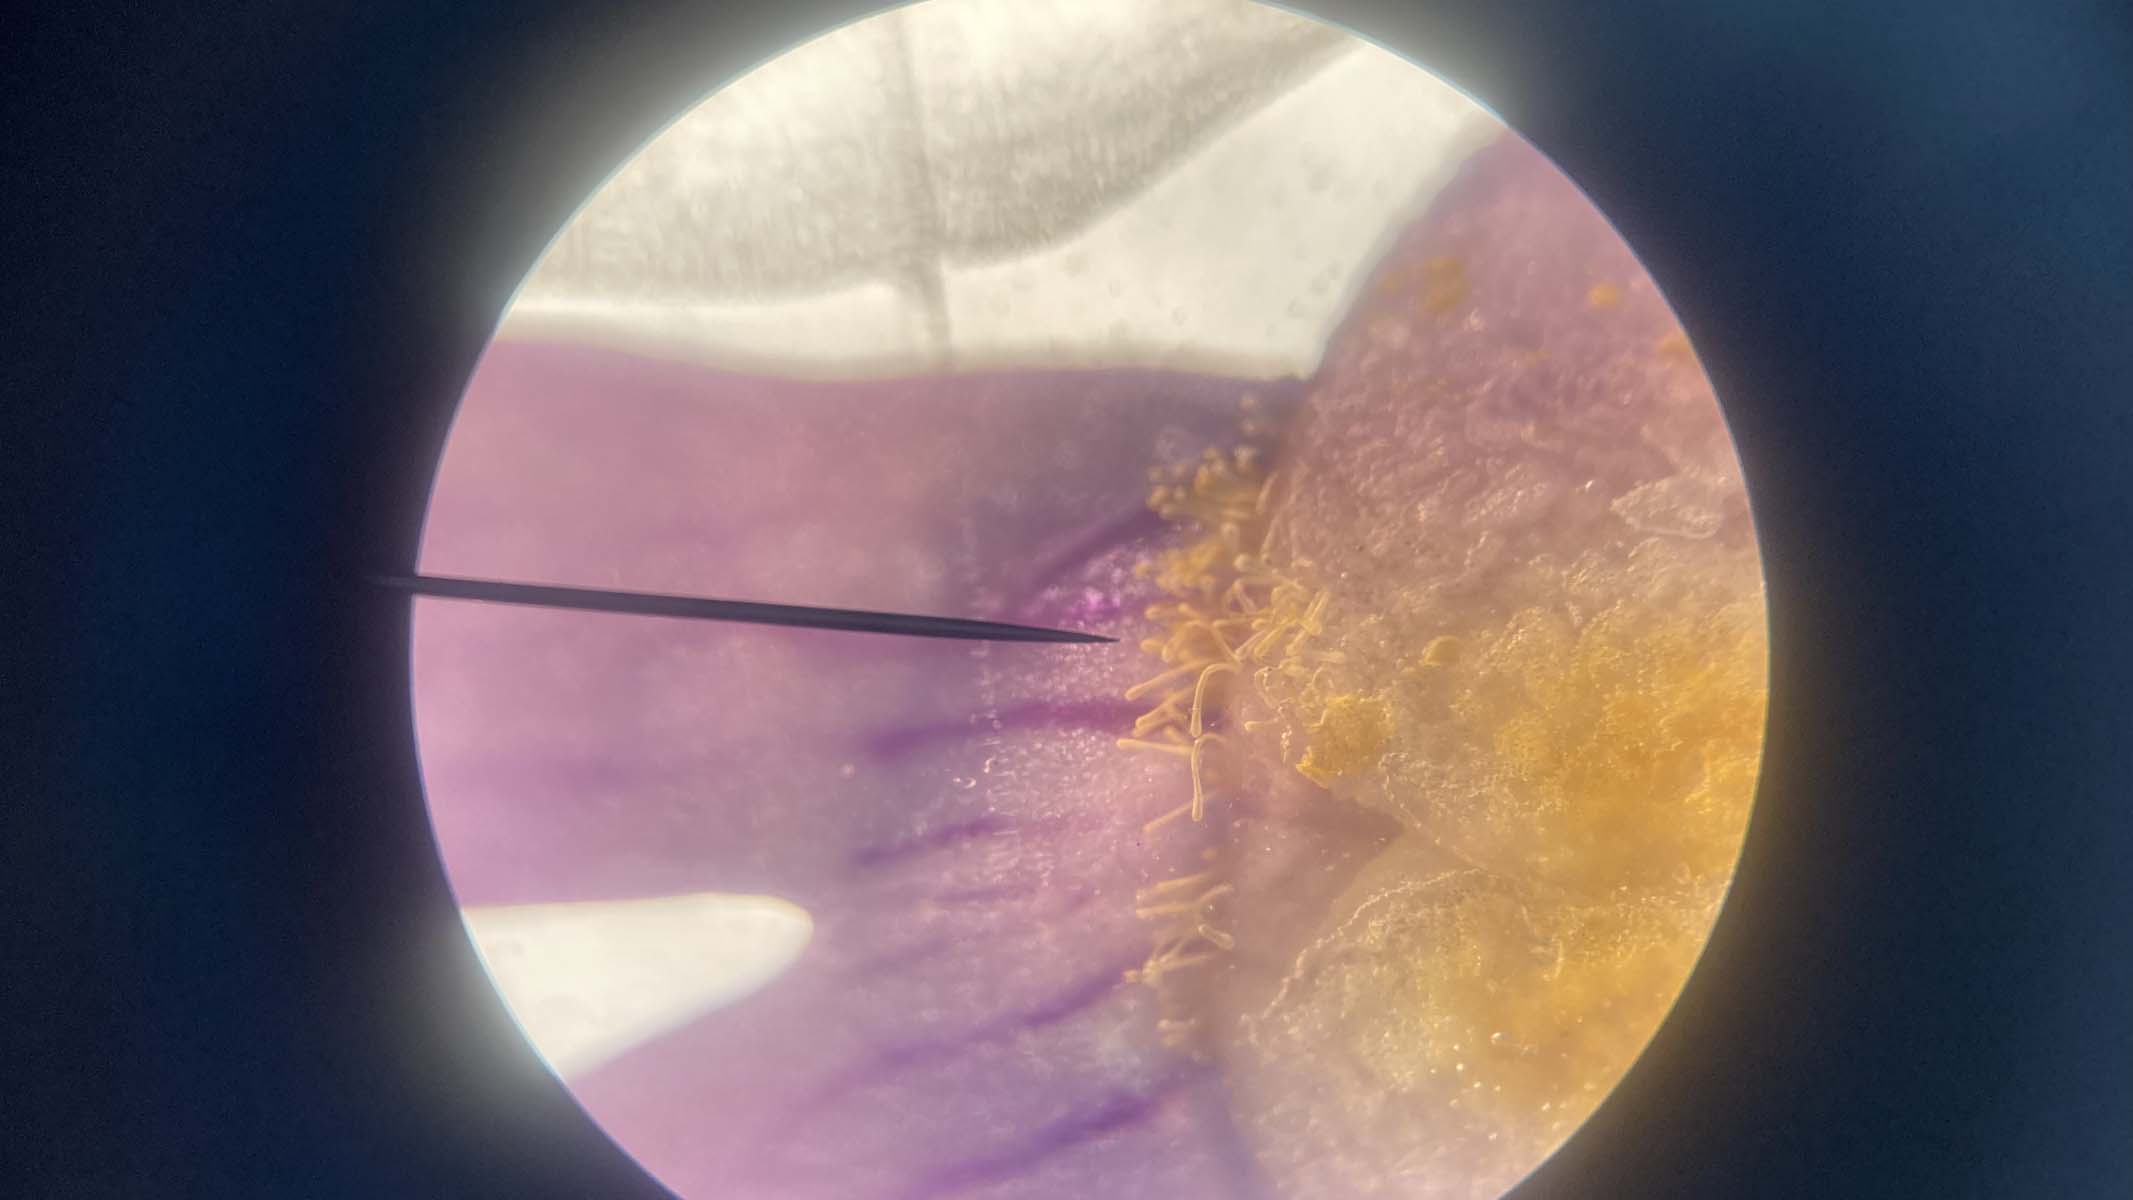
If you’re gathering images for academic projects, documenting personal findings, or teaching children using some of the best microscopes available, you will eventually want to take pictures of your specimens. There are different techniques to achieve this: using a digital microscope, attaching a microscope-friendly or regular camera, or simply placing your smartphone camera against the eyepiece.
Ways to capture photographs using your microscope
Taking images with a microscope serves many purposes. Beyond recording and sharing your research or educational discoveries, photomicrography is especially useful for individuals with vision challenges, for capturing live specimens, or for creative projects. If you’re considering taking up photomicrography as a hobby, it’s wise to keep this in mind while selecting your microscope.
Opting for a digital microscope, such as the PentaView LCD from Celestron Labs, means your equipment will include software, an AV/TV cable, and an SD card, allowing you to capture and showcase high-quality still and video images right away. You can transfer these digital images to a laptop or a desktop computer for editing, including adding filters, colors, highlights, and labels.
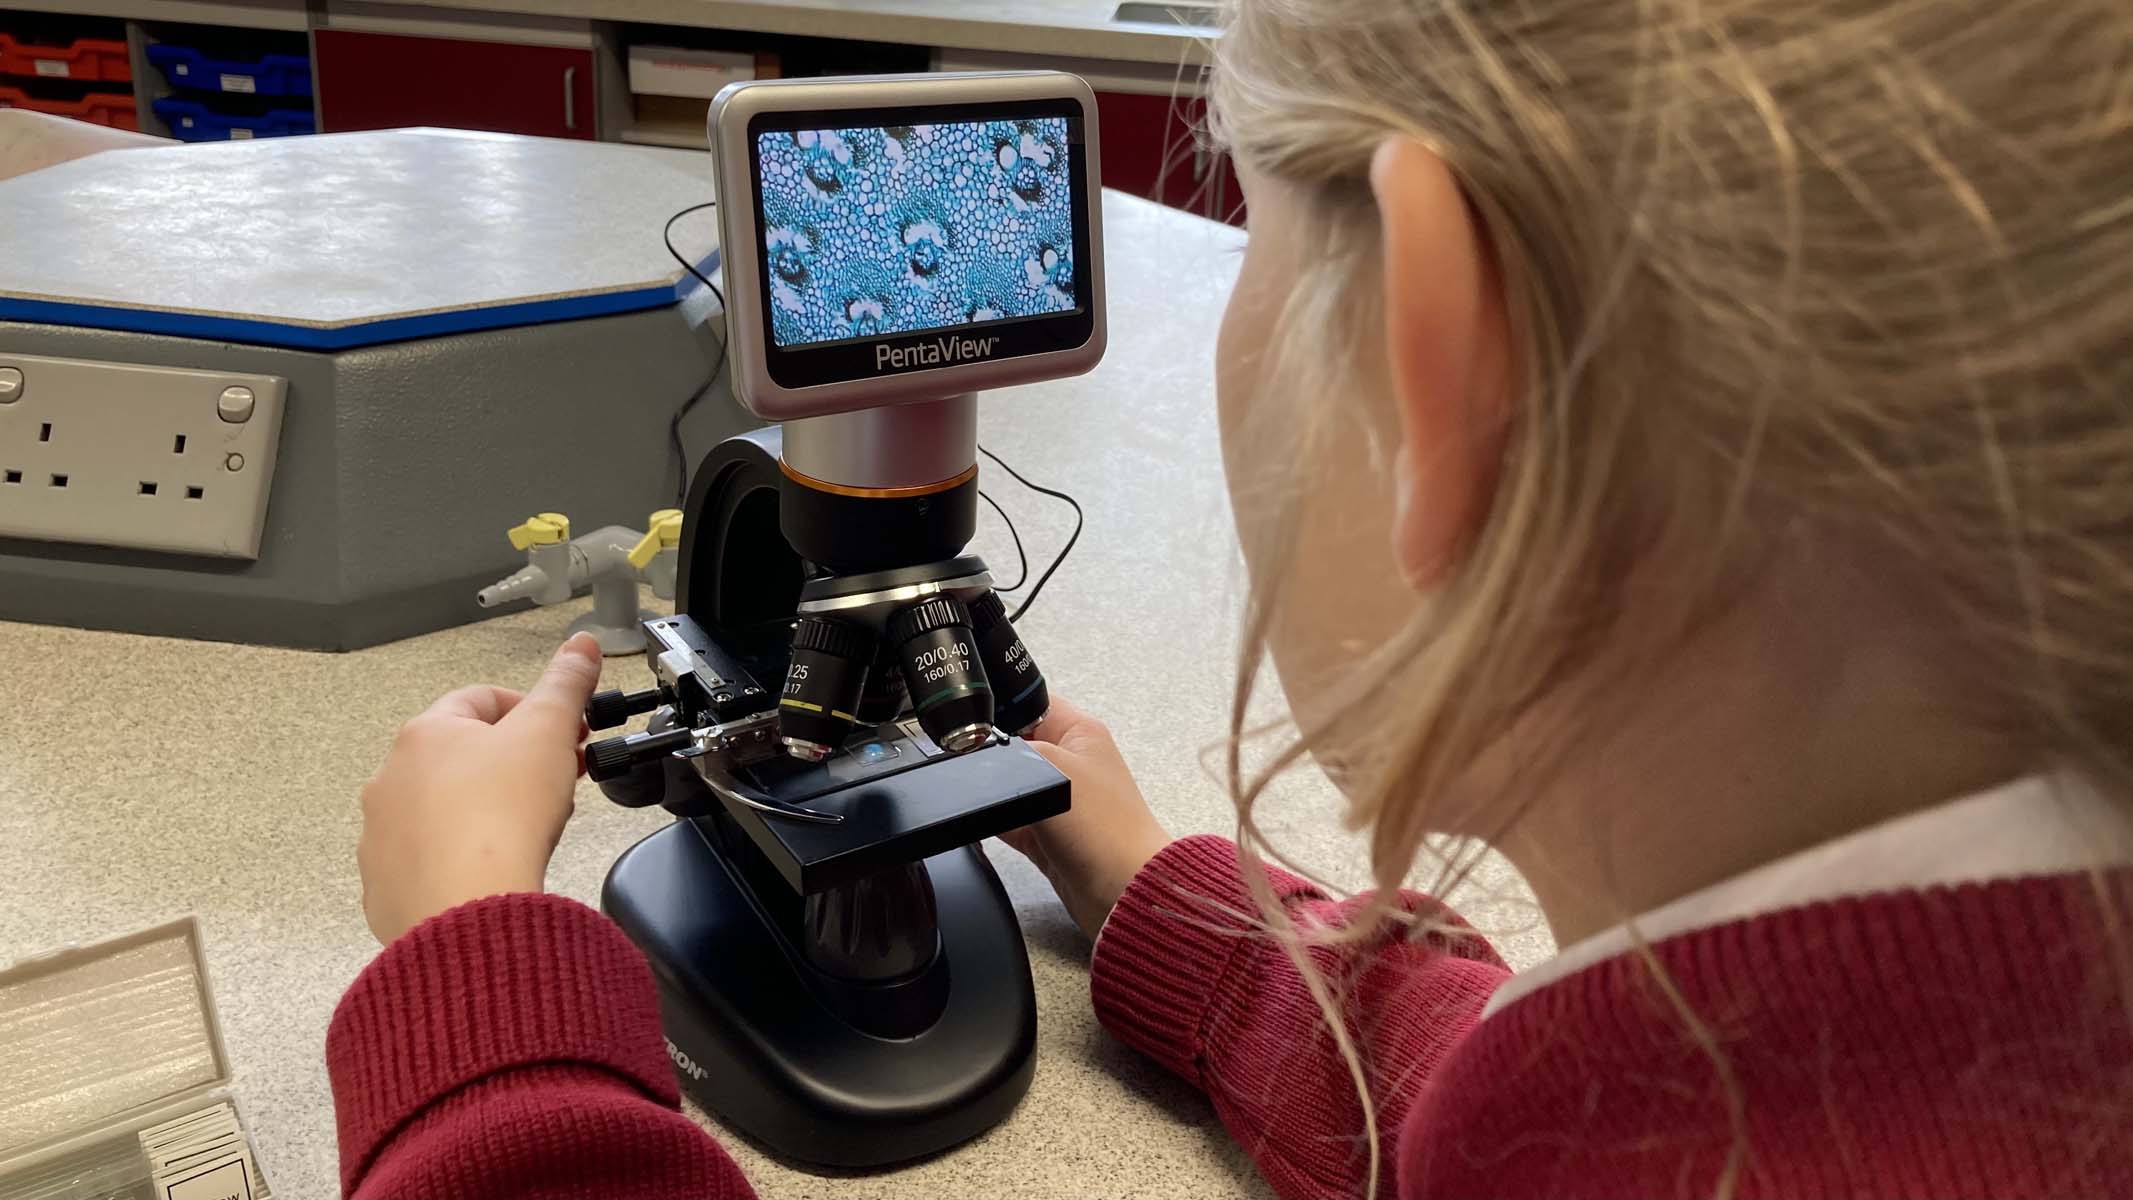
If you already own a compound light microscope and wish to use it for photomicrography, you can acquire an eyepiece tube microscope camera. These small cameras fit directly into the microscope’s eyepiece socket and transmit digital images to a monitor or computer, allowing you to capture images of the magnified specimens. For instance, the SW380T model by Swift features a trinocular setup with a third eyepiece tube specifically for the EC5R camera.
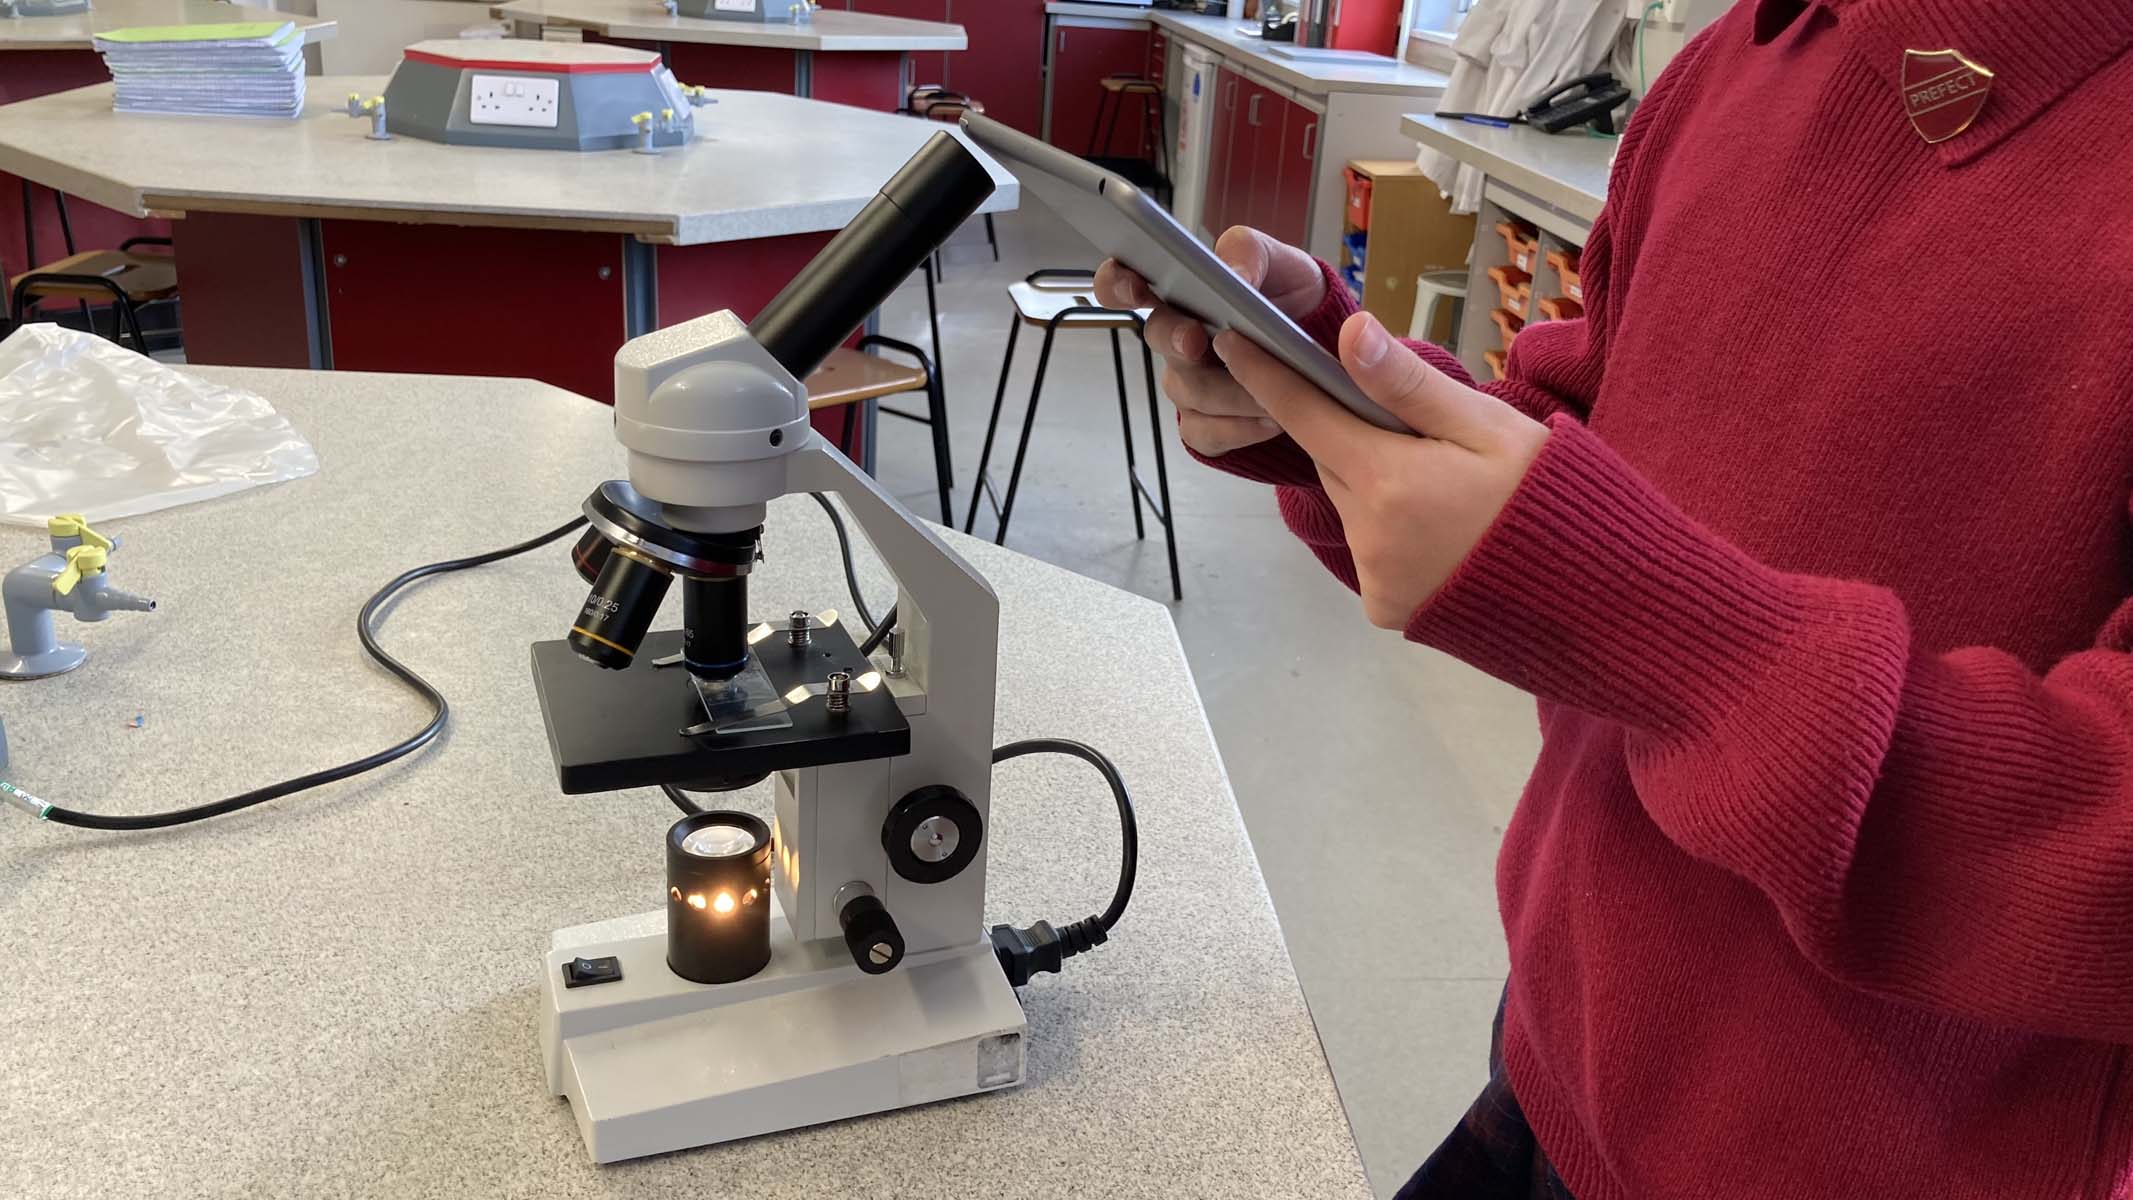
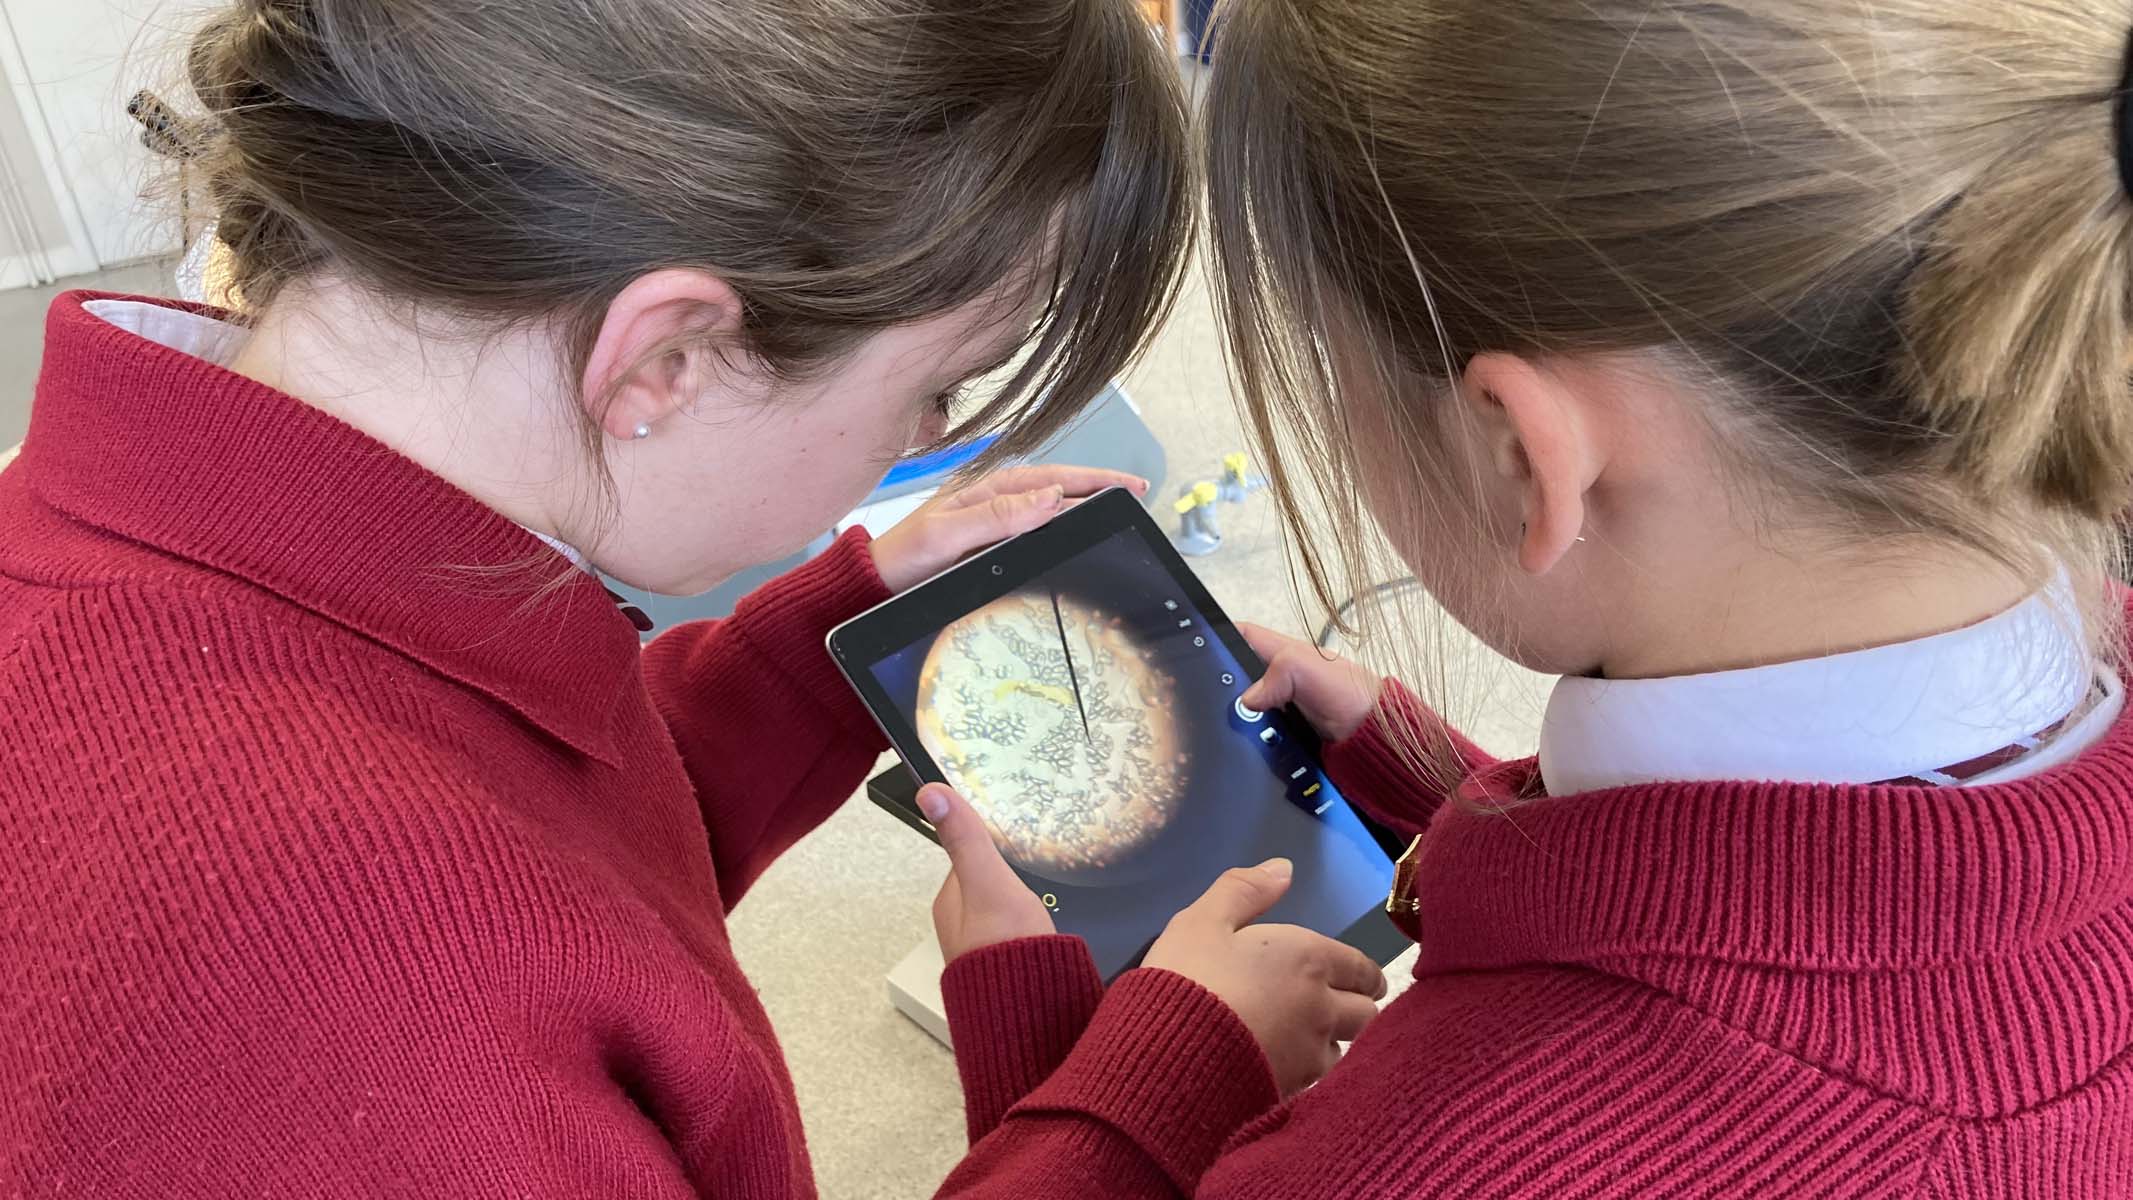
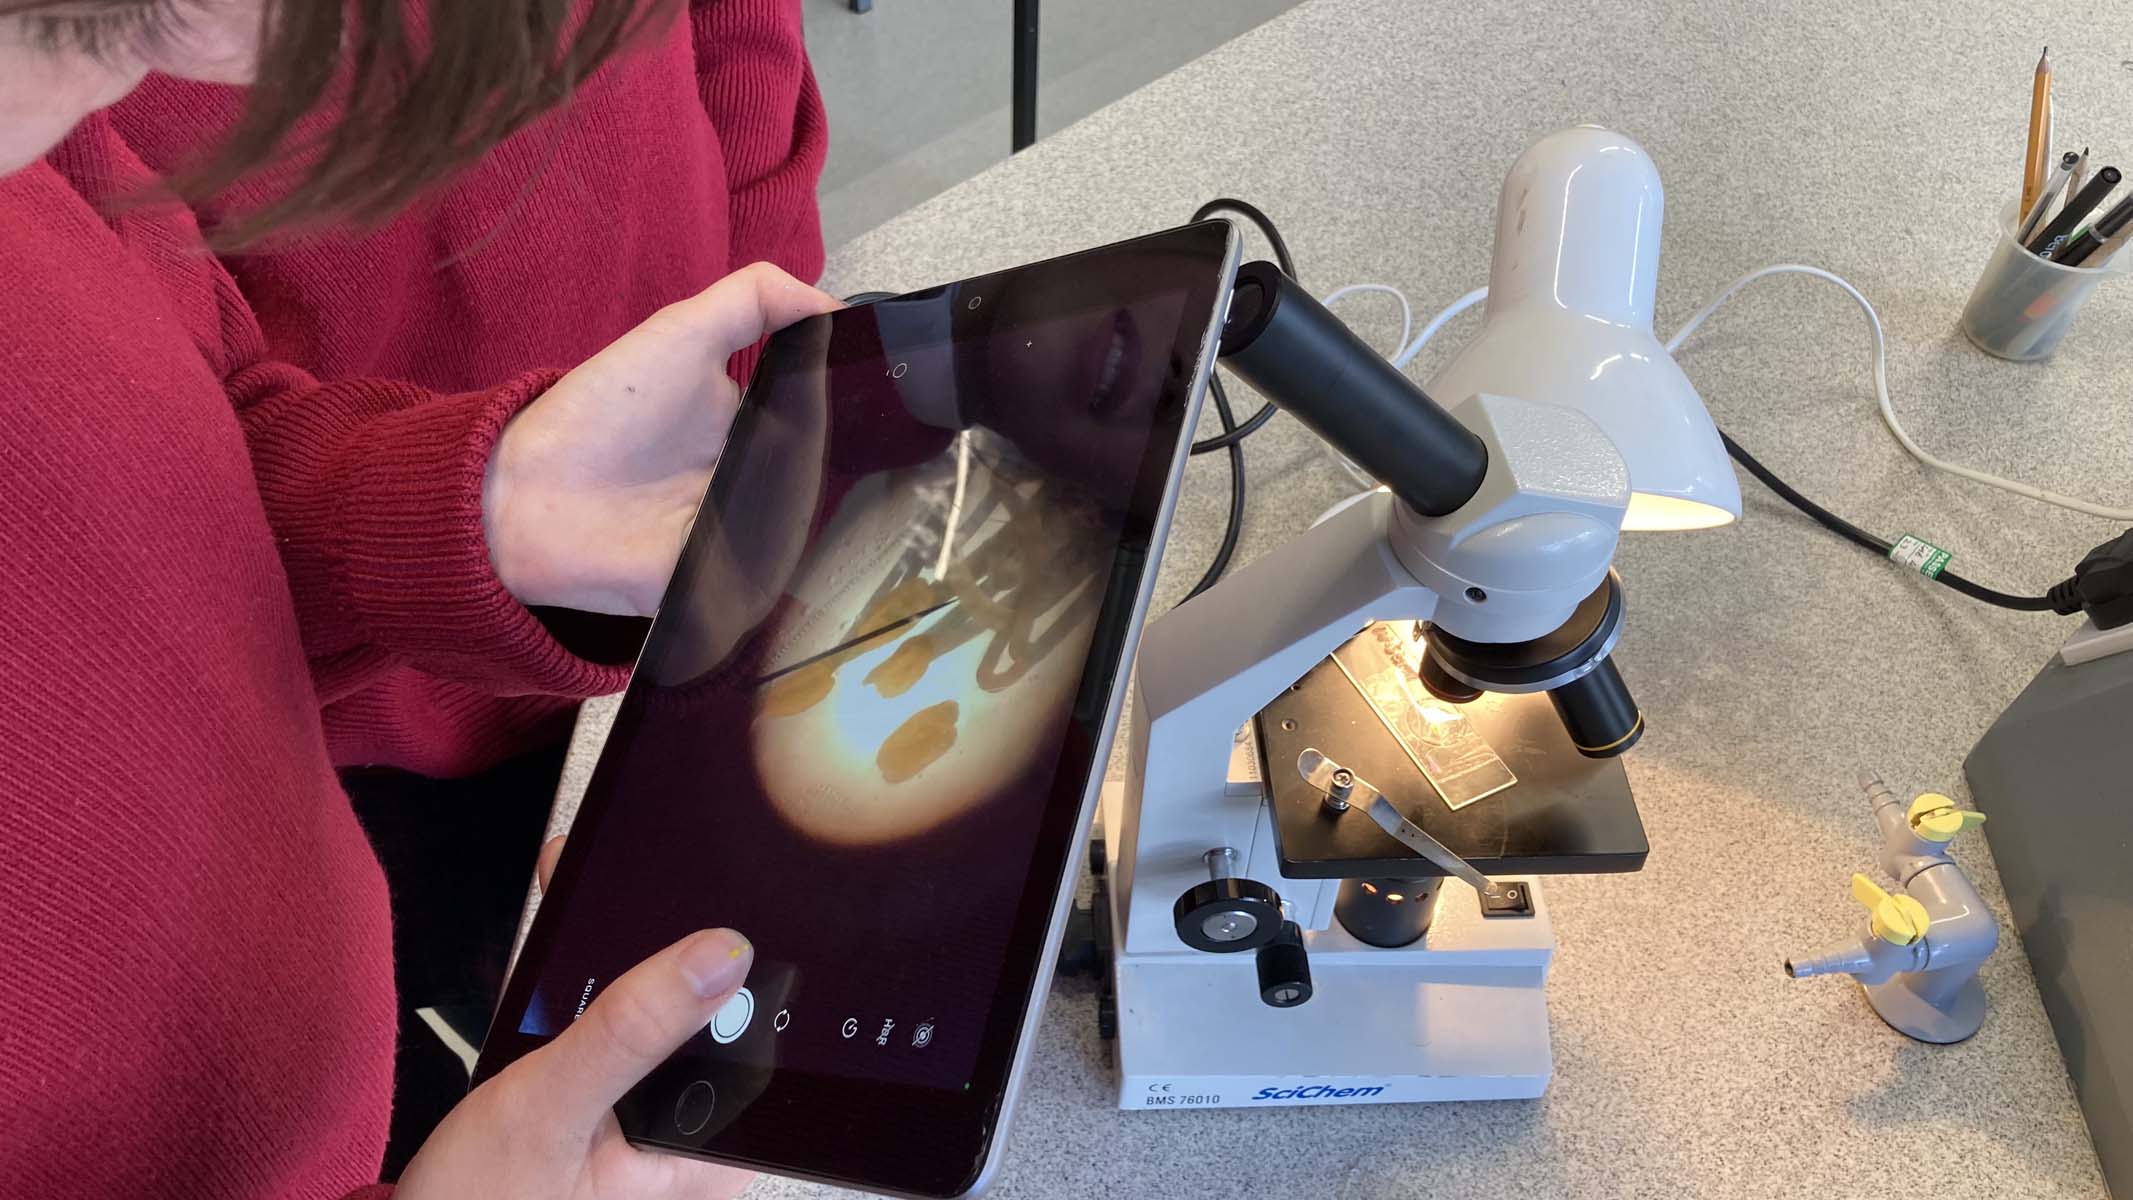
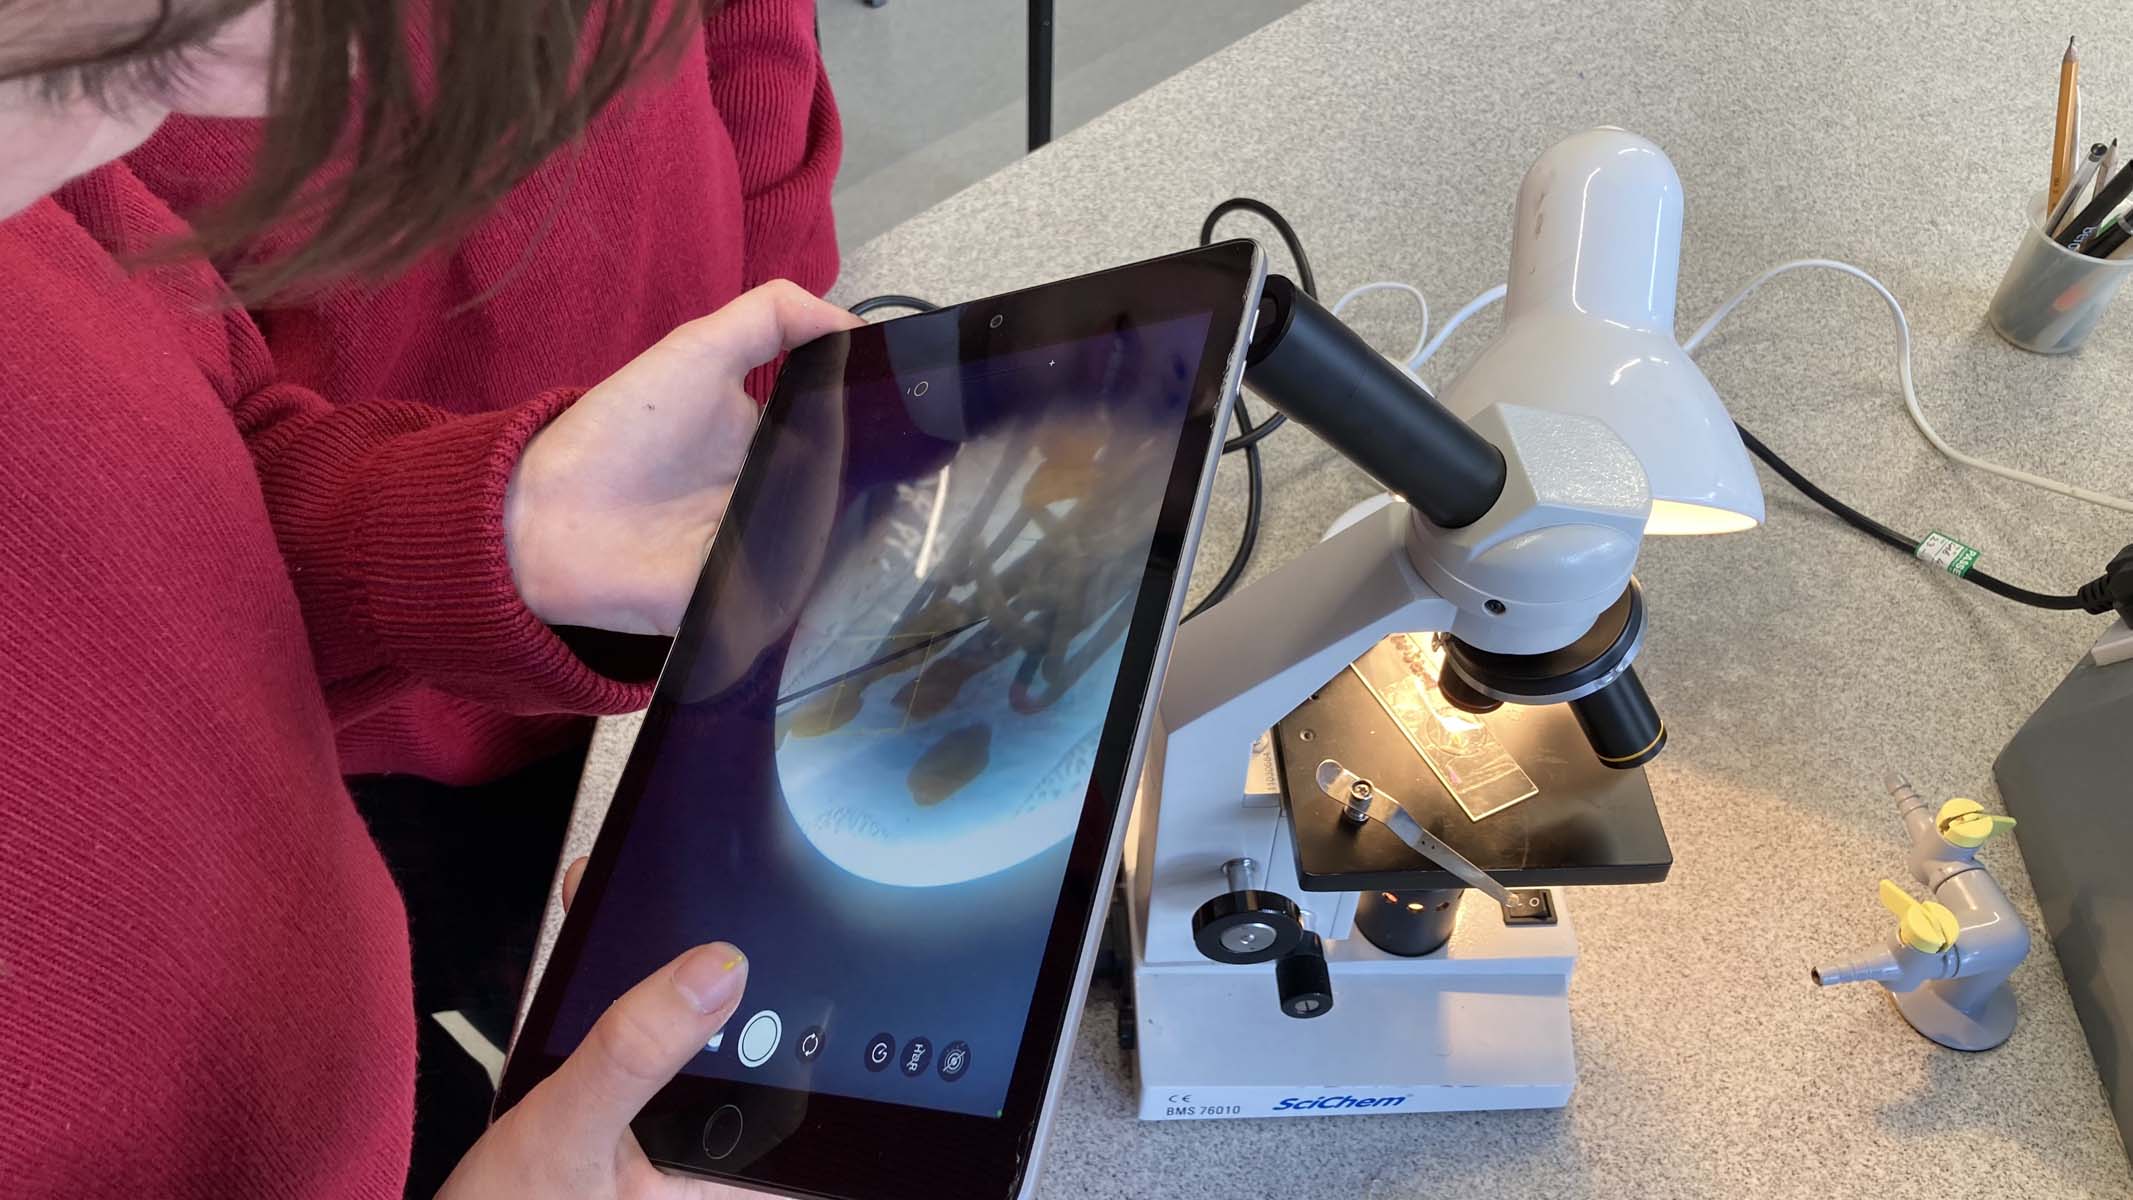
However, the most straightforward and affordable option to take photographs of what you see through your microscope is to align your smartphone or tablet camera with the eyepiece lens. It will require some patience and a steady hand, but you can easily focus, zoom, and capture images or videos just like you would normally do with your device.
Remember, before cropping, images will capture the entire field of view along with the body tube casing. To improve smartphone photomicrography, consider using a universal smartphone mount, allowing you to keep both hands free to control the camera and reduce shake.
For more professional-quality images, you can also attach a high-quality camera to a microscope. A DSLR camera is a top choice for superior resolution in photomicrography, providing better details in low light and a larger selection of lenses.
A trinocular microscope is much better for this purpose. These microscopes are more stable because the camera attaches directly above. If your microscope uses an angled body for the DSLR, you might need to secure it to prevent it from tipping. If the camera and microscope are of the same brand, one T adapter connects the DSLR lens to the smaller eyepiece tube. When using different brands, an additional conversion adapter is needed. Ensuring compatibility is essential, so be cautious.
Capturing Specific Subjects
When setting up your subjects for photomicrography, the best practice is to maintain conditions similar to those used for optimal viewing. To capture a clear, high-resolution image with good contrast and focus, it is crucial to achieve the best setup.
High-quality images are essential for microscopy. While it’s true that photographs can be edited digitally later, many microscopes include colored filters that fit above the condenser, enhancing specific cellular aspects and hues. It’s beneficial to experiment with these filters.
For cell photomicrography, use a compound microscope equipped with an adjustable lower light source that offers a magnification of 400x or higher. Proper brightness is crucial for achieving the right exposure. Adjusting the light source is a good starting point: you can use ground glass to scatter light or a neutral density (ND) filter to lessen light intensity without altering the color.
Many common stains utilized in cellular microscopy may not capture well, often resulting in a muddy effect. Employing a didymium filter to block out orange and yellow wavelengths can produce more vibrant colors in your cell images. If you see a blue tint in the background, an ultraviolet light-absorbing filter can help improve contrast and yield a clearer backdrop.
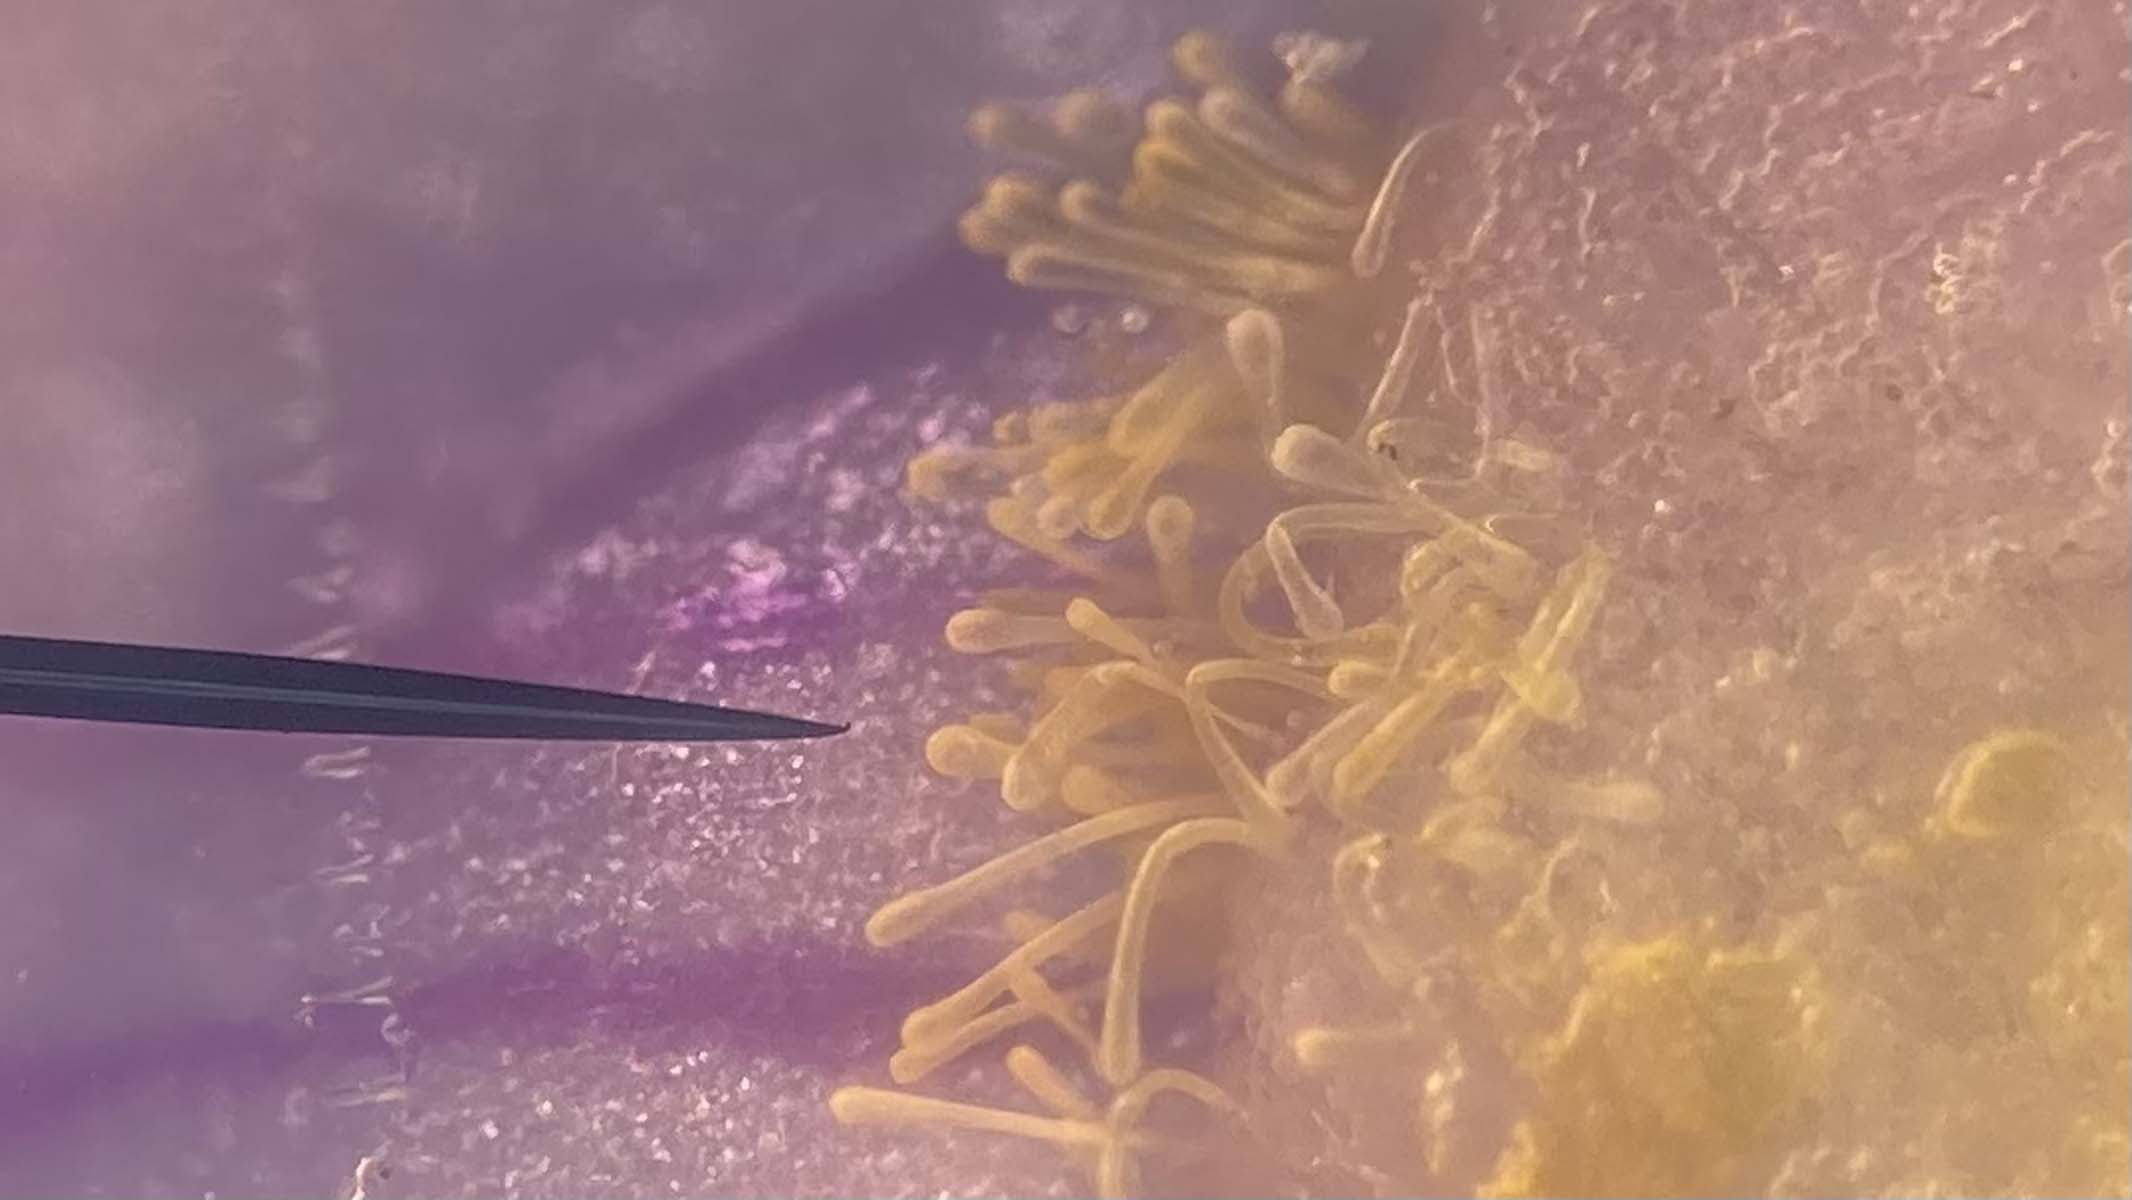
(Image credit: Heather Barker)
For opaque specimens like pollen grains or seeds that don’t allow light to pass through, it’s important to select a microscope with an upper light source that reflects light upwards. You can also set up a separate spotlight to illuminate specific areas or enhance colors. Many microscopes with upper illumination have interchangeable stage plates that help adjust contrast, with black, white, and frosted plates being the most common. Alternatively, you could create your own using colored paper or acetate.
Photographing single-celled creatures is akin to cell photomicrography, provided you’re ready to kill and preserve your samples first. These microscopic organisms, often found in water, permit light to penetrate them, showcasing internal structures. For instance, you can see the digestive systems and internal organs of tiny water fleas.
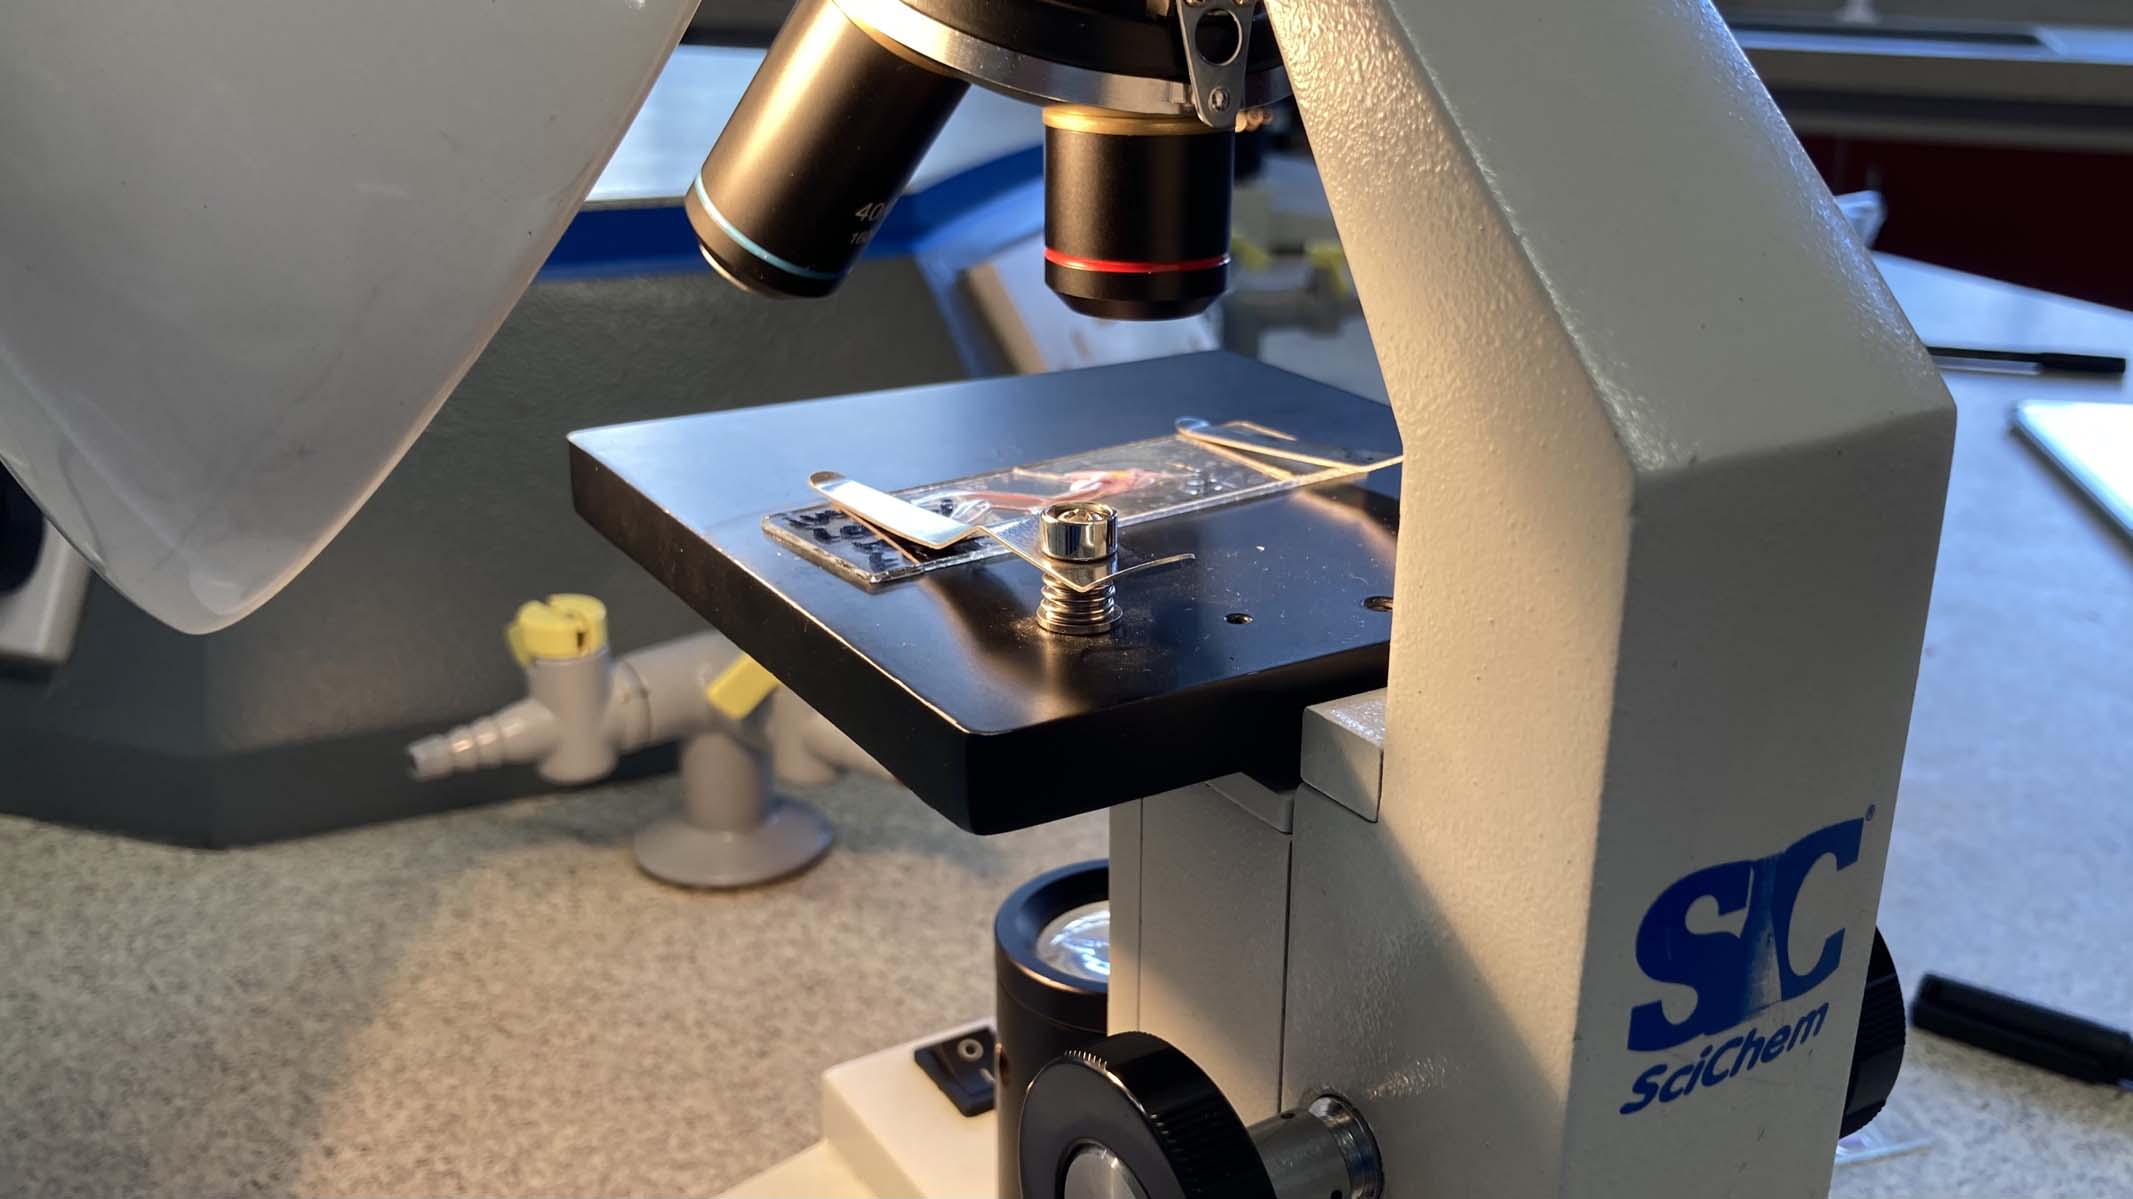
(Image credit: Heather Barker)
Observing living organisms is much more humane and fascinating — though it comes with its own set of challenges. Mobile organisms like tardigrades can quickly move out of sight. Recording your sample at lower magnification is a brilliant way to analyze the movement patterns of living organisms. A digital microscope is unbeatable for capturing this microscopic world, or you can use a smartphone with a mounting system to record videos. Later on, you can extract still frames from the video footage.
Finally, if you have a steady hand or a camera mount, consider capturing a series of images while adjusting the focus through various layers and then stacking and merging them in Photoshop. This method can create depth and a three-dimensional effect in your final image.


